pfSense vs OPNsense for a Homelab Firewall: Which One to Run on a Mini PC

Ruth Calloway
October 16, 2026
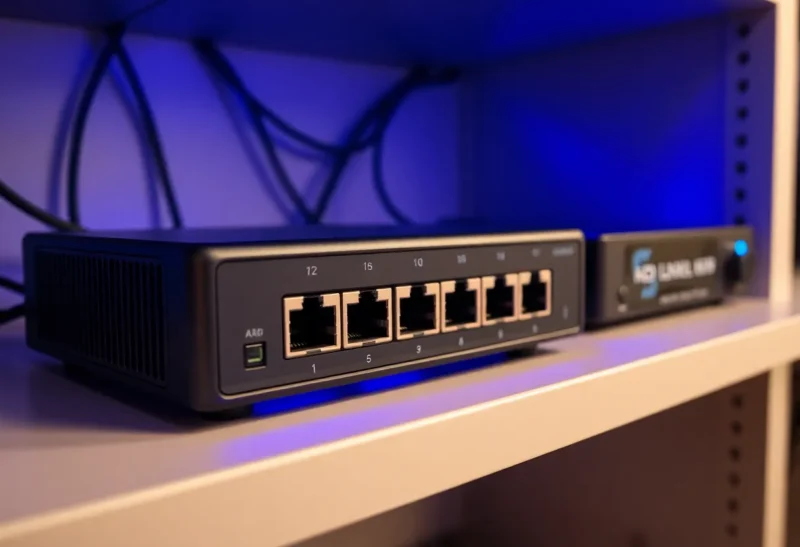
Replacing your internet provider’s router with your own firewall is a rite of passage in a homelab. You get proper VLANs to keep smart devices away from your laptops, a VPN server you control, real DNS and ad blocking, traffic graphs, and rules you can actually read. The most popular way to do it is a small multi-port mini PC running one of two open-source firewalls: pfSense or OPNsense.
They share a common history and a lot of features, so the choice is less obvious than it looks. I have run both at home on the same kind of fanless mini PC, and set them up for friends’ apartments. Here is how they compare when the goal is a home or homelab firewall rather than an office network.
Same roots, different paths
pfSense is the older and better-known project, developed by Netgate and built on FreeBSD. It comes in two editions: pfSense CE, the free community edition, and pfSense Plus, Netgate’s edition with newer features that ships on Netgate’s own appliances. The terms for running Plus on your own hardware have changed several times over the years, so check Netgate’s current offer before planning around it.
OPNsense began in 2015 as a fork of pfSense, and is developed by the Dutch company Deciso with an open-source community. It also runs on FreeBSD, but it has a redesigned interface, a fixed schedule of two major releases per year with frequent smaller updates, and a fully open-source code base for the version most people use.
| pfSense CE | OPNsense | |
|---|---|---|
| Base | FreeBSD | FreeBSD |
| Release pace | Slower; the Plus edition gets features first | Two major releases a year, frequent updates |
| Interface | Classic, dense, very well documented | Modern, with menus and search |
| Add-ons | Packages such as pfBlockerNG, Suricata, HAProxy | Plugins such as CrowdSec, Zenarmor, AdGuard Home, HAProxy |
| WireGuard | Available as a package | Built in |
| Community and guides | Very large, many years of answers | Large and growing |
Setting up the first evening
Both install from a USB stick onto a small SSD, ask which network ports are WAN and LAN, and give you a web interface on your LAN address. Out of the box, both behave like a good home router: they hand out addresses, resolve DNS, block unsolicited incoming traffic and let everything on the LAN out to the internet.
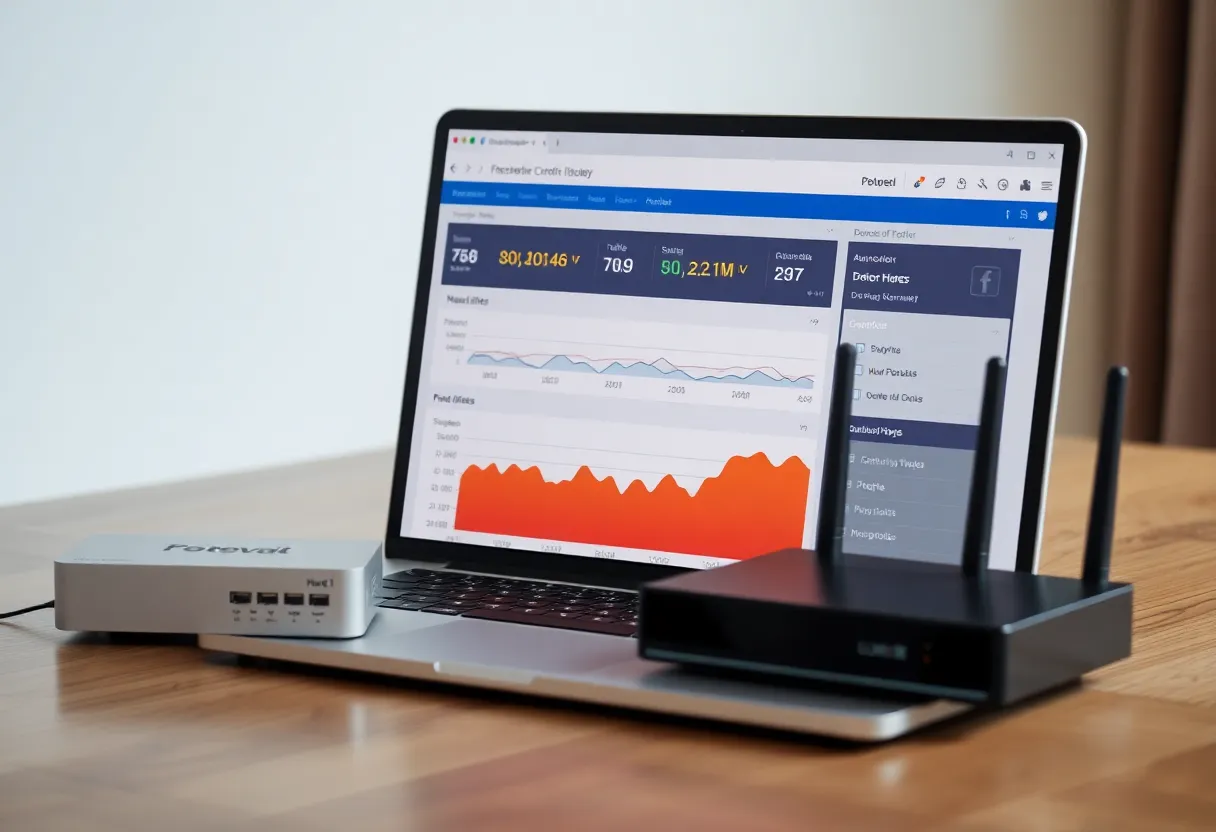
OPNsense’s setup wizard and interface feel more modern. Menus are grouped logically, there is a search box for settings, and many pages explain options inline. pfSense’s interface is older in style and denser, but it is extremely well documented, and almost every question you might have has been answered in its forums and in years of tutorials and videos.
For a newcomer, the deciding factor is often which one the guide you are following uses. Both are equally capable for the first evening’s goals.
VLANs, guest networks and smart devices
The main reason most people set up their own firewall is network separation: a trusted network for computers and phones, an IoT network for smart plugs, TVs and cameras, a guest network, and sometimes a separate network for servers. Both handle VLANs well. You define VLANs on a physical port, assign each one an interface, give it a DHCP range and write rules about what it can reach.
The hard part is not the firewall, it is the devices. Casting, AirPlay and many smart-home apps rely on discovery protocols that do not cross network boundaries by default. Both firewalls offer an mDNS repeater to help, but expect some troubleshooting. That trade-off is explored in guest VLAN vs IoT VLAN on one router, and the general surprises of replacing an ISP router with OPNsense in a small apartment are in what OPNsense breaks in a two-person apartment.
You will also need a managed switch that understands VLANs, and access points that can broadcast several networks with VLAN tags, unless every network gets its own physical port.
VPNs, DNS and blocking
For remote access, both support WireGuard and OpenVPN. OPNsense includes WireGuard as a core feature; pfSense provides it as a package. Both work well, with WireGuard being faster and simpler to configure for phones and laptops.
For DNS, both use Unbound as a local resolver by default, with options for DNS over TLS to upstream servers. Ad and tracker blocking is where their add-ons differ. pfSense’s pfBlockerNG package is famous: it blocks domains and IP ranges from many lists, with detailed reports, and is one of the main reasons people choose pfSense. OPNsense has built-in DNS blocklists in Unbound, plus plugins such as AdGuard Home, and many users also run a separate Pi-hole or AdGuard Home.
For intrusion detection, both offer Suricata. OPNsense has plugins for CrowdSec, which blocks addresses based on community reputation, and Zenarmor, a commercial application-aware filter with a free tier. These features use more CPU and memory, so size your hardware accordingly if you plan to use them.
Updates and long-term care
OPNsense’s predictable schedule is a strength for a home firewall. Security fixes and improvements arrive regularly, and the interface shows available updates clearly. Major releases come twice a year, and upgrades are usually smooth with a reboot.
pfSense CE has had a slower release pace in recent years, with Netgate putting new features into Plus first. The CE edition still receives updates and remains reliable, but some homelab users have moved to OPNsense specifically because of release frequency and licensing uncertainty.
With either, export the configuration file after every significant change. A firewall’s configuration fits in one XML file, and restoring it to a fresh install on new hardware takes minutes. That is your disaster-recovery plan.
The mini PC underneath
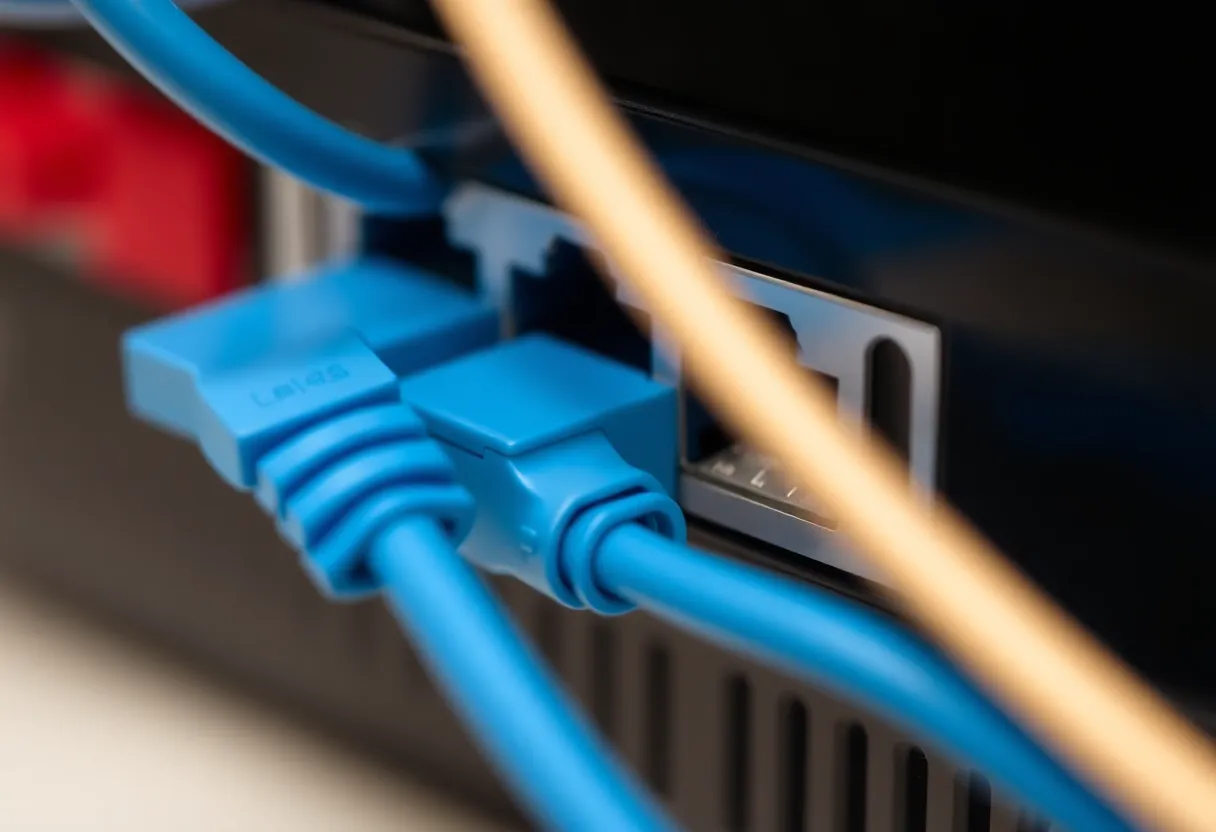
Both run well on the inexpensive fanless mini PCs sold specifically for firewall use, typically with four to six network ports. A few hardware rules matter more than the brand:
- Prefer Intel network chips. FreeBSD has long had the best support for Intel network adapters. Many current boxes use Intel’s 2.5-gigabit chips; check reviews for the specific revision, as early versions of some chips had stability issues later fixed in firmware and drivers. Avoid Realtek network ports for a FreeBSD firewall where possible.
- A modest CPU is enough for routing. A recent low-power quad-core routes a gigabit connection easily. Intrusion detection, heavy VPN use and multi-gigabit connections need more.
- 4–8 GB of RAM and a small SSD. More memory helps if you run Suricata, large blocklists or many plugins.
- Cooling. Fanless boxes get hot in a closed cupboard. Give them airflow.
The same boxes double as small home servers, which makes them a sensible purchase even if you later change your mind about running your own firewall. A broader look at mini PCs for home servers is in the best mini PCs for a home server.
Swapping out the ISP router without a long outage
The riskiest moment is the switchover, usually with the rest of the household waiting for the Wi-Fi to come back. A plan that works with either firewall:
- Build and test first. Install the firewall and configure it with its WAN port plugged into a LAN port on the existing ISP router. Your firewall gets internet through the old router, and you can test DHCP, DNS, VLANs and VPN on a laptop without touching anyone else.
- Check how your ISP connects. Most fibre and cable connections hand out an address by DHCP once the old router is removed. Some need PPPoE credentials or a VLAN tag on the WAN, and some bind the connection to the old router’s hardware address for a while. Find out before the swap.
- Put the ISP box in bridge mode if you must keep it. Many ISP devices combine modem and router. Bridge or “modem only” mode passes the public address to your firewall and avoids two layers of NAT, which otherwise break port forwarding and some games and VPNs.
- Reuse the old network name and password on your access points, so phones, TVs and smart devices reconnect without anyone noticing.
- Swap at a quiet time, keep the old router configured for an emergency rollback, and expect smart devices to take a few minutes, or a power cycle, to come back.
Done this way, the outage is usually a few minutes rather than an evening.
Running it as a virtual machine
Some homelab builders run their firewall as a virtual machine on Proxmox, alongside other services. Both pfSense and OPNsense work well this way, with network cards passed through or bridged. It saves a box, but it ties your internet connection to the health of your hypervisor: when the host reboots for updates, the whole house goes offline. For a household that depends on the internet, a dedicated small box is usually the calmer choice.
Picking the one you will maintain
Choose OPNsense if you want a modern interface, a predictable update schedule, WireGuard built in, and a fully open-source code base without licensing questions. For most new home and homelab setups, it is the easier recommendation today.
Choose pfSense if you are following a specific guide or course that uses it, rely on pfBlockerNG, or value its enormous base of tutorials and forum answers. pfSense CE remains a solid, proven firewall.
Either will be a big step up from an ISP router. Spend more time planning your networks and rules than choosing between the two, buy a box with Intel network ports, and keep an exported configuration somewhere safe.