Building a Whole-Home Air Quality Monitor: What Sensors Are Worth the Effort

Paul Eriksson
July 7, 2026
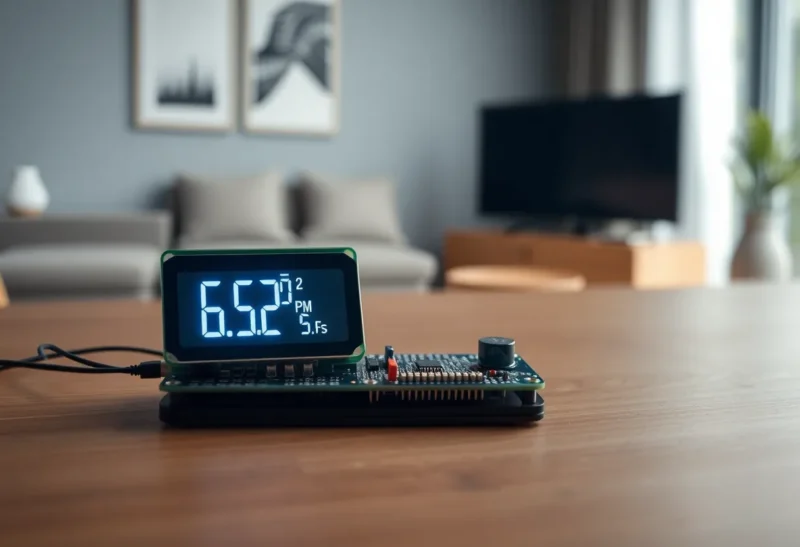
Indoor air quality is one of those topics that seems like niche engineering nerdery until you actually measure your home and find that the CO2 in your home office is sitting at 1,800 ppm on a focused work afternoon, or that cooking dinner spikes PM2.5 levels in your kitchen to values that would trigger air quality alerts outdoors. Once you’ve seen those numbers, you can’t unsee them—and the project of building a proper whole-home monitoring system starts looking less like a hobby project and more like something that might actually affect how you live.
I’ve gone through this myself. What follows is the practical guide I wished had existed when I started: which sensors are worth the time and money, which aren’t, and how to build something that integrates into a home automation system without requiring a PhD in embedded systems.
What You Should Actually Measure
Before buying any hardware, it’s worth being clear about what you’re measuring and why. Not all air quality metrics are equally useful in a residential context.
CO2 (Carbon dioxide). This is the single most actionable sensor in a residential context. CO2 builds up in occupied rooms from exhaled breath and combustion. Outside air is approximately 420 ppm; a stuffy room with a few people and limited ventilation can easily climb to 1,500–2,500 ppm. Research on cognitive performance and CO2 shows measurable impairment beginning around 1,000 ppm and significant impairment above 1,500 ppm for tasks requiring focus and decision-making. This is directly relevant to home office and bedroom environments. CO2 is also a reasonable proxy for ventilation quality generally—if CO2 is rising, other pollutants are likely accumulating too. Cost of quality CO2 sensors: £25–60 per unit.
PM2.5 (Fine particulate matter). Particles smaller than 2.5 micrometres that penetrate deep into the lungs. Significant sources in homes include cooking (especially frying and gas cooking), candles, incense, wood burning, and cigarette smoke. Outdoor pollution can ingress through poorly sealed buildings. Long-term exposure to elevated PM2.5 is one of the better-established environmental health risks. Cost of decent optical particle sensors: £15–35 per unit as components; complete sensors with calibration £40–80.
VOCs (Volatile organic compounds). A broad category of organic chemicals that off-gas from paints, cleaning products, furniture, carpets, adhesives, and many other common materials. MOX (metal oxide) VOC sensors give you a relative index rather than specific compound measurements—they detect “something chemical is present” rather than identifying specific compounds. For most home use cases, relative changes in VOC index are more useful than absolute values. Worth having in a laundry room, recently renovated space, or workshop. Cost: £10–20 as components in many common sensors.
Temperature and humidity. Not traditionally considered “air quality” but practically essential. High humidity promotes mould growth; low humidity causes respiratory discomfort and static; temperature significantly affects how pollutants behave and how comfortable a space is. These should be in every sensor node as a matter of course—they’re cheap and universally useful. Cost: effectively free as part of a combined sensor (DHT22, BME280, etc.).
What’s not worth it for most homes. Radon measurement is worthwhile if you’re in a high-radon area (check your national radon map), but radon detectors are specialist equipment and not part of a DIY air quality sensor in the usual sense. CO (carbon monoxide) is important but already covered by required smoke/CO alarms in most jurisdictions—redundant sensor nodes add complexity without much marginal value. NO2 and ozone sensors exist but are expensive to implement accurately and primarily relevant for homes near heavy traffic or with indoor combustion sources.
Sensor Hardware Worth Knowing
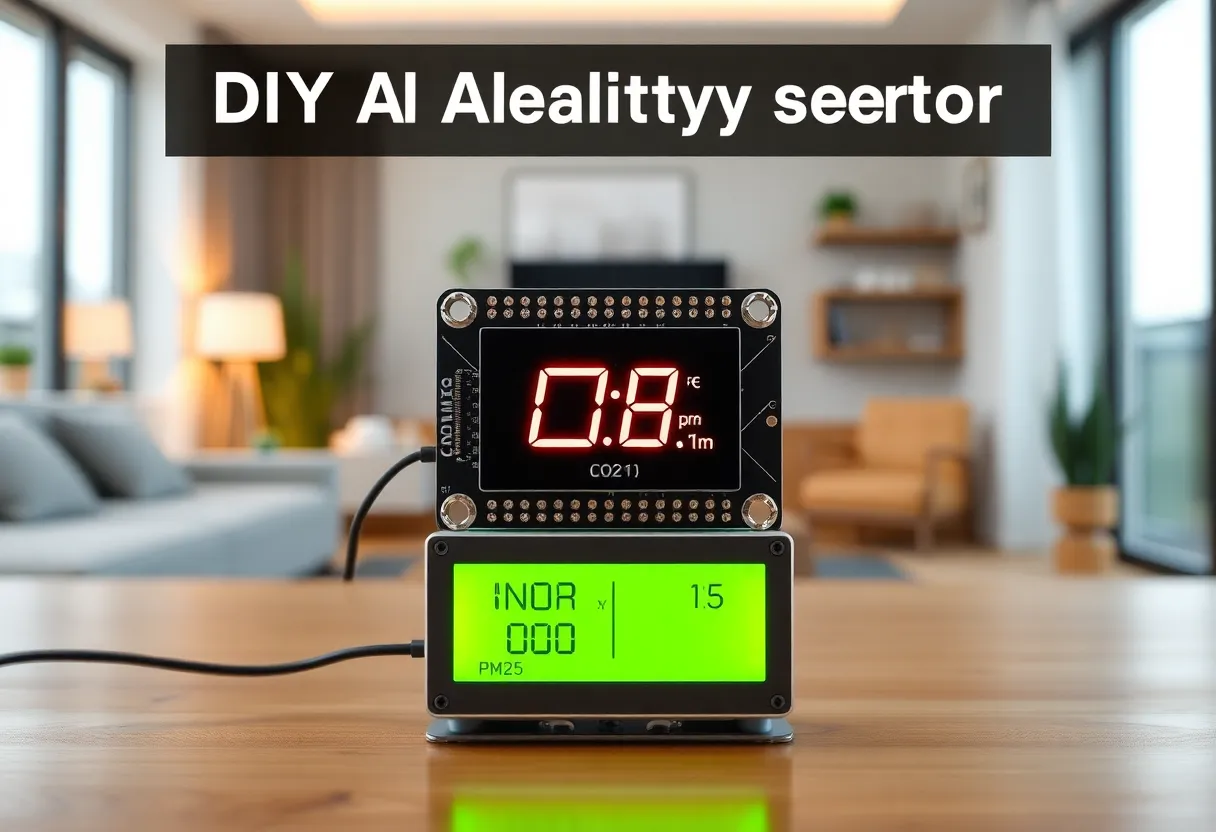
For DIY builds, a handful of sensor components dominate the maker community for good reasons.
SCD40/SCD41 (Sensirion) for CO2. NDIR (non-dispersive infrared) based sensors, which are the gold standard technology for CO2 measurement—they measure CO2 directly using infrared light absorption rather than inferring it from other gases. The SCD40 and SCD41 are the most affordable NDIR CO2 sensors with meaningful accuracy that have entered the maker market. They communicate via I2C and are compatible with ESPHome and Home Assistant directly. Accuracy: ±50 ppm or ±5% above 1,000 ppm. A significant upgrade over the cheap MH-Z19B sensors that were common a few years ago.
Sensirion SPS30 or PMS5003/PMS7003 for PM2.5. The PMS series from Plantower are popular because they’re inexpensive and the community support is extensive. Accuracy degrades over time (the laser and fan have limited life spans and the sensors drift) and they’re not well-calibrated for absolute values, but they’re more than adequate for monitoring relative changes and catching cooking events. The Sensirion SPS30 is more accurate and more expensive. For permanent installations where you care about absolute values, the SPS30 is worth the premium.
BME680 or BME688 (Bosch) for temperature, humidity, pressure, and VOC index. A single chip that gives you four measurements, communicates over I2C, and has mature driver support across the major maker platforms. The VOC index is relative (Bosch provides algorithms to convert raw resistance readings to an index value) but useful for detecting cleaning product use, cooking fumes, and similar events. The BME688 adds an AI-powered gas sensing feature that can be trained to recognise specific compounds—interesting but complex for most home use cases.
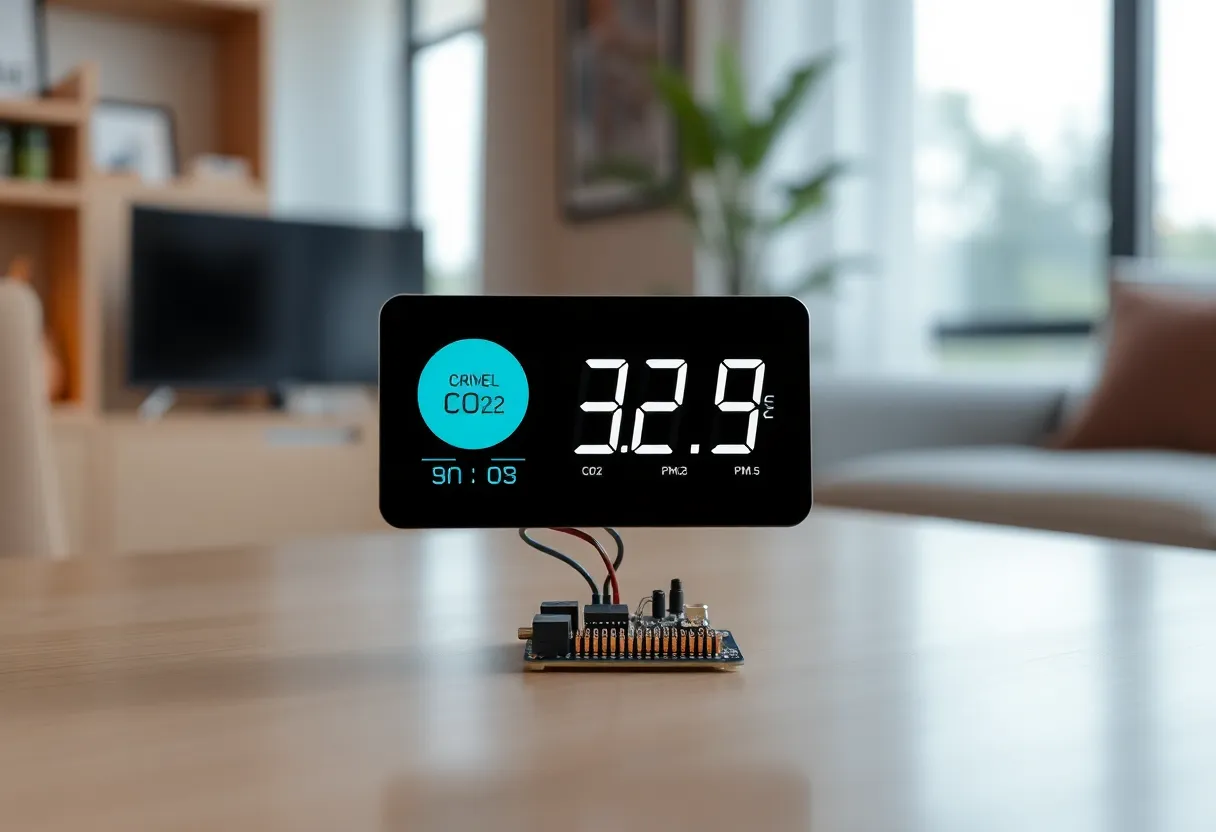
Microcontroller platform: ESP32 with ESPHome. For home automation integration, ESP32-based sensors running ESPHome is the combination that minimises configuration complexity and maximises Home Assistant integration. ESPHome supports all of the sensors mentioned above with one to three lines of YAML configuration per sensor, handles OTA updates, WiFi connectivity, and direct entity registration in Home Assistant. Building a complete air quality sensor node takes about two to three hours including soldering, enclosure, and configuration for someone who’s done it before; double that for a first build.
Practical Sensor Placement
Placement matters more than most DIY guides acknowledge. A CO2 sensor in a corner near a ventilation diffuser will read lower than one in the occupied zone of a room. Height matters too—CO2 is slightly heavier than air and concentrations are marginally higher at seated breathing height than at ceiling height. Proximity to outdoor air ingress should be avoided.
For a practical whole-home deployment:
Bedroom: CO2 and temperature/humidity, placed at bed-height or desk-height on a nightstand or shelf. Sleep quality is sensitive to CO2—many people find that sleeping with a window cracked improves sleep quality, and CO2 data explains why.
Home office: CO2, VOC index, temperature. Work performance is sensitive to CO2. Real-time CO2 data is actionable—it tells you when to open a window.
Kitchen: PM2.5 and VOC index. Cooking events are the largest regular source of PM2.5 in most homes. Seeing the PM2.5 spike during cooking provides clear feedback on range hood effectiveness and ventilation habits.
Living room: CO2 and PM2.5 are both useful. If you have a wood stove or fireplace, this room is where PM2.5 is most likely to be elevated during fire season.
Basement/crawlspace: If you’re in a radon-prone area, this is where a radon monitor would go. Temperature and humidity are useful for detecting condensation and mould risk.
Integration with Home Automation
Where a whole-home sensor network earns its complexity is in integration. Individual sensors giving you readings are useful; sensors triggering automations are useful in a different and more seamless way.
Some automations worth setting up once you have the data:
CO2 alerts: notify when any room exceeds 1,000 ppm, actionable text (“Open bedroom window”). This is simple and extremely useful—people consistently underestimate how stuffy their living spaces get.
Cooking exhaust reminder: if PM2.5 in the kitchen exceeds a threshold and the range hood isn’t running, send a notification. You’d be surprised how often people forget to turn it on.
Bedroom overnight trending: log CO2 overnight and display a morning summary. After a few weeks you’ll have a clear picture of which rooms need what ventilation adjustments. The data is more persuasive than any advice about bedroom ventilation.
HVAC integration: if your heating/cooling system is smart-home integrated, you can automate ventilation modes based on air quality sensor data. Opening fresh air dampers when CO2 rises, for example, without manual intervention.
The Honest Assessment of Effort and Payoff
Building a whole-home air quality monitoring system isn’t a weekend project—it’s closer to a month-long project if you’re building custom sensor nodes from components. The commercially-available options (Airthings, Awair, and similar) are considerably easier to set up and have better software, but are more expensive per sensor point and less flexible for integration.
The payoff is real. The most common outcome for people who deploy meaningful air quality monitoring is a change in ventilation habits—particularly in bedrooms and home offices—that’s measurably better than what they were doing before. CO2 data in particular changes behaviour in a way that abstract advice about “ventilating your bedroom” never does.
The sensors worth building: CO2 (SCD40/41 based) for every regularly occupied room. PM2.5 (PMS5003 or SPS30) for kitchen and living areas. Temperature and humidity everywhere, since they’re essentially free additions.
The sensors worth skipping for most homes: standalone VOC (useful but the relative index limits actionability), CO (covered by required alarms), NO2 (complex and only relevant for specific situations), radon (standalone instrument is better).
The whole thing integrates well with Home Assistant via ESPHome and costs roughly £30–60 per sensor node in components. For a three-bedroom house with a home office and kitchen, you’re looking at five to seven nodes—call it £200–300 in hardware and a weekend or two of setup time. For anyone who already runs a homelab or has done basic electronics work, that’s a reasonable investment for the data it produces.