How to Build a Local Home Dashboard Without Cloud Dependency

Tobias Mensah
March 1, 2026

Most home dashboards live in the cloud. Your smart home app routes through a server somewhere in California, your weather widget pings a third-party API, your calendar data leaves your house every time the screen refreshes. This works fine until it doesn’t: the service changes its terms, the API gets rate-limited, your internet drops, or a company pivots and the whole product disappears.
A local home dashboard — one that runs entirely on hardware in your home, over your local network, with no dependency on external services — is a genuinely different experience. It’s fast, private, and keeps working when the internet is down. Building one isn’t as hard as it might sound, and the result can be exactly as useful or as minimal as you want.
What a Local Dashboard Can Actually Do
Before diving into the how, it’s worth being concrete about what “local” means in practice. A local dashboard can pull data from:
- Smart home devices on your network: Lights, switches, sensors, thermostats running over Zigbee, Z-Wave, or local MQTT
- Your home server or NAS: Storage usage, CPU, RAM, running services
- Your router/networking gear: Bandwidth, connected devices, uptime
- A local weather station: If you have an Ecowitt, Ambient Weather, or similar unit sending data locally
- A self-hosted calendar or task manager: Nextcloud Calendar, for example
- Custom scripts or scripts you write: Anything you can expose as a JSON endpoint on your local network
For external services — weather from the internet, public transit schedules, stock tickers — you’ll still need APIs. But the dashboard itself runs locally, so it stays up even when those individual API calls fail, and your interaction with it never routes through an external service.
The Hardware: What to Run It On
The dashboard needs a place to run. Options from minimal to more capable:
Raspberry Pi (or similar SBC): A Pi 4 or Pi 5 is more than capable of running a local dashboard server. A Pi Zero 2 W works for lightweight setups. The Pi runs headlessly as the server component; a separate tablet or monitor acts as the display.
An old laptop or mini PC: If you have an unused machine, this works. The power draw is higher than a Pi but the setup process is simpler and the hardware is easier to diagnose.
Your existing home server or NAS: If you already run a home server — Proxmox, Unraid, TrueNAS, or similar — you can add the dashboard as a Docker container. No additional hardware needed.
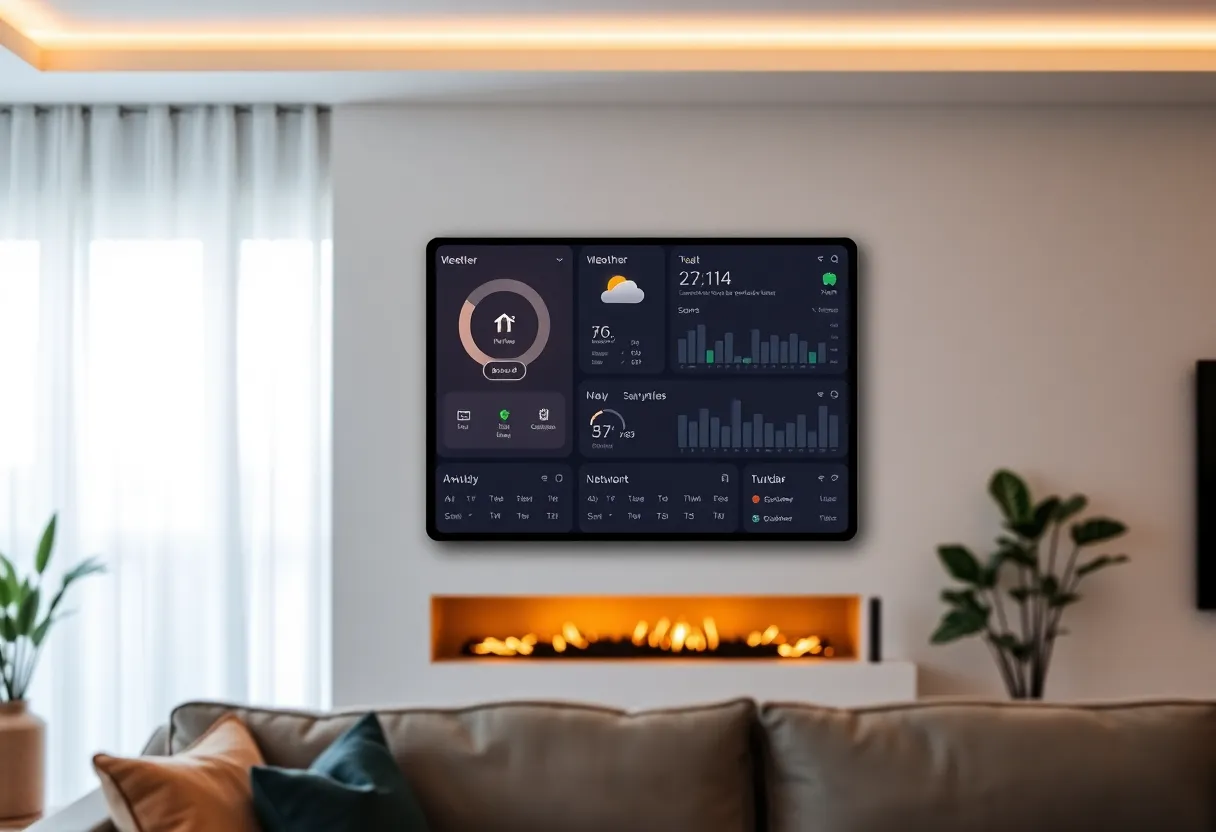
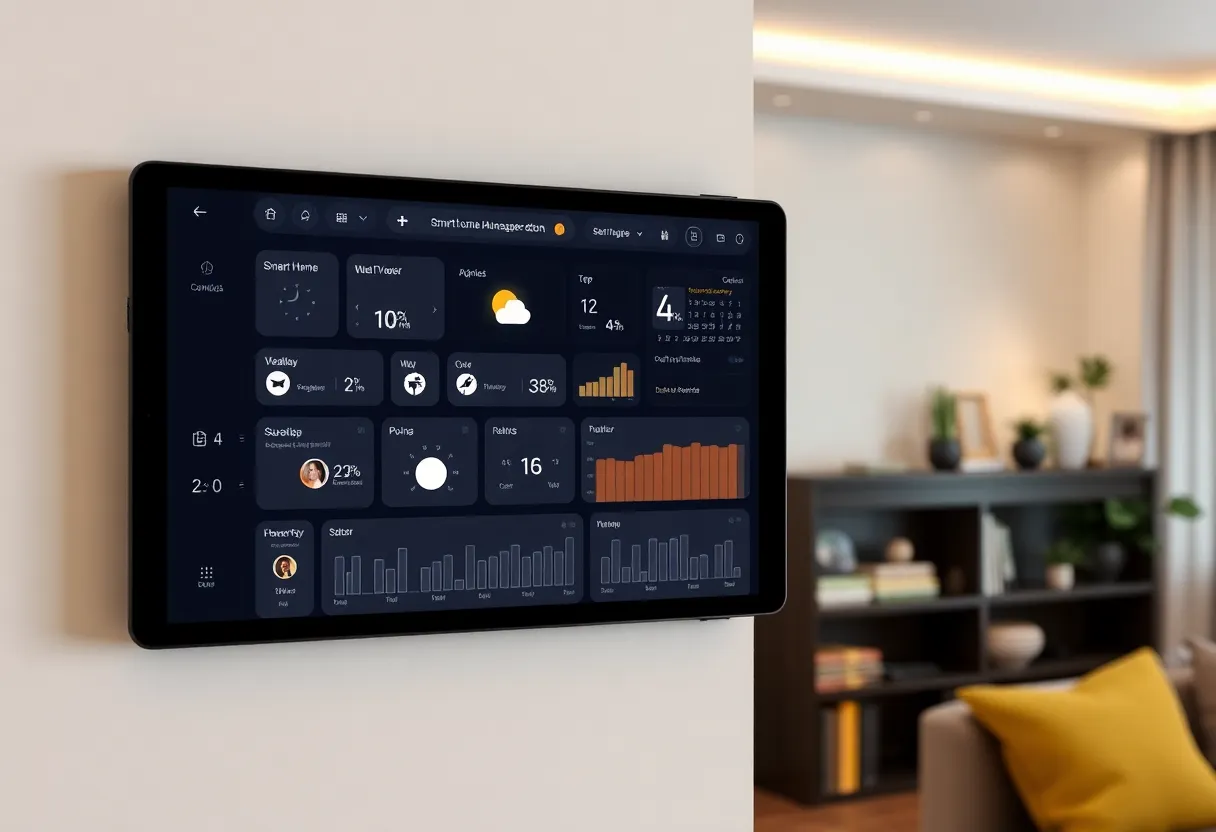
The display: Almost anything works. An old tablet (Android or iPad) mounted on a wall is the cleanest option — it runs a browser in kiosk mode pointing at your dashboard URL. An old monitor connected to the Pi directly works too. Amazon Fire tablets are inexpensive and can run a browser in kiosk mode, though getting them out of the standard Fire OS experience takes a few steps.
The Software: Dashboard Frameworks
Several mature open-source tools are built specifically for this purpose:
Homarr
Homarr is a clean, modern dashboard designed for homelab setups. It has a visual drag-and-drop editor, integrates with popular self-hosted services (Sonarr, Radarr, Jellyfin, Proxmox, Pi-hole, etc.), and is focused on being a launcher and status display for your self-hosted stack. It runs as a Docker container and is easy to configure. Best for: homelab overview dashboards showing the status of your running services.
Dashy
Dashy is highly customisable with YAML configuration, theme support, and widget integrations. It’s more flexible than Homarr but requires more manual configuration. Good for people who want fine-grained control over layout and data sources. Also runs as Docker.
Glance
Glance is a newer, lightweight option that’s gained traction for its clean aesthetic and simple configuration. It focuses on displaying feeds — RSS, weather, stocks, Reddit, GitHub — in a clean column layout. Less homelab-focused than Homarr, more general-purpose. Worth considering for a hallway display or information board.
Home Assistant Dashboards
If you already run Home Assistant for smart home control, you already have a powerful dashboard engine built in. Home Assistant’s Lovelace dashboards can display sensor data, device controls, weather, calendar, and almost anything else you’ve integrated. The ecosystem of third-party cards (via HACS) is enormous. If your goal includes smart home control alongside status information, starting with Home Assistant avoids running parallel systems.
Grafana
Grafana is data visualisation software — it’s not primarily a home dashboard tool, but it’s excellent for displaying time-series data from your home. If you’re already logging sensor data into InfluxDB or a similar time-series database, Grafana panels can visualise temperature trends, power consumption, network traffic, and more in rich graph form. Heavier setup, but uniquely powerful for homes that log a lot of data.
Smart Home Integration: The Local-First Stack
If you want your dashboard to control or reflect smart home devices, the integration layer matters. Most consumer smart home devices — Philips Hue, Google Nest, Ring — route through their manufacturers’ cloud servers even when the hardware is on your local network. The alternative is a local-only protocol stack:
Zigbee + Zigbee2MQTT: Zigbee is a low-power mesh protocol used by many smart devices from brands including Aqara, Sonoff, IKEA, and others. Zigbee2MQTT is open-source software that bridges your Zigbee coordinator (a USB dongle) to MQTT, a lightweight messaging protocol. Devices communicate on your local network without ever reaching the internet.
Z-Wave: Similar to Zigbee in concept but uses a different radio frequency (868 MHz in Europe, 908 MHz in the US) and has a stricter certification process. Generally considered more reliable for larger meshes. The Z-Wave JS integration in Home Assistant makes it accessible.
Matter: The newer protocol backed by Apple, Google, Amazon, and the Connectivity Standards Alliance. Matter devices communicate locally, but the ecosystem is still maturing and some Matter devices still phone home for firmware updates or features.
For a genuinely local setup, Zigbee2MQTT + MQTT + Home Assistant is the most battle-tested combination in 2026. Everything runs on your hardware and never leaves your network.
Weather Without an API Subscription
Weather is one of the most common dashboard widgets, and the local approach varies by how much hardware you want to invest.
Personal weather station: Ecowitt, Ambient Weather, and similar stations have outdoor sensors that transmit to a base station. Many support pushing data to a local endpoint over your network — no cloud account required. The Ecowitt line in particular has good local-only support and integrates with Home Assistant directly.
Open-Meteo: Open-Meteo is a free weather API that requires no API key for personal use and has generous rate limits. It’s not local, but it’s independent of the commercial API ecosystems that tend to restrict or charge for access. It works well as a fallback for locations where a personal weather station isn’t practical.
Getting a Tablet Into Kiosk Mode
If you’re using a tablet as the display, you want it to show your dashboard fullscreen with no sleep, no notification banners, and no way for someone to accidentally navigate away. The approach varies by platform:
Android: Enable developer mode, enable screen pinning, and use a browser in fullscreen mode. Apps like “Fully Kiosk Browser” (available on the Play Store and as an APK) handle kiosk mode properly, including keeping the screen on, managing auto-refresh, and suppressing system UI. It’s worth the modest license fee.
Amazon Fire Tablet: Install the Google Play Store (a well-documented process), then install Fully Kiosk Browser. Fire tablets are cheap, include reasonable displays, and work well for static wall displays. Battery life is manageable if you keep them plugged in.
iPad: iOS has Guided Access mode (Settings → Accessibility → Guided Access) which locks the device to a single app. You can run Safari in fullscreen mode pointing at your local dashboard URL. Works cleanly but requires the iPad to stay on your local Wi-Fi network.
The Practical Build Order
If you’re starting from nothing, the order that avoids wasted effort:
- Decide on your server hardware (Pi, spare machine, or existing server).
- Install Docker if you don’t already have it.
- Stand up Home Assistant first — it handles the most integrations, including smart home, weather, calendar, and sensors. Everything else can connect to it.
- Build out a Lovelace dashboard in Home Assistant before adding separate dashboard software. You may find you don’t need anything else.
- If you want a different aesthetic or features, add Homarr or Dashy alongside and have them pull data from Home Assistant’s API.
- Set up your display device with Fully Kiosk Browser pointing at your dashboard URL.
This approach gets you something functional quickly and lets you layer in complexity as you understand what you actually want to see on the screen.
What You Trade Away
Honesty requires noting the real downsides. Local dashboards don’t automatically update their software — you need to manage container updates. Integration with services that have no local API (Google Calendar, for example) requires setting up read-only calendar syncing to a local tool like Nextcloud. When something breaks, you debug it yourself; there’s no support team. Remote access — viewing your dashboard from outside your home — requires either a VPN or a reverse proxy with authentication, both of which add setup complexity.
None of these are showstoppers, but they’re the real cost of the “no cloud dependency” approach. The flip side is a dashboard that has worked unchanged for three years because nothing in the external world changed it. That stability is worth something.


")