How Home Automation Setups Break When You Move—And How to Build for Portability

Drew Morrison
July 7, 2026
You spent two years getting the smart home right. Motion sensors calibrated so the entry light doesn’t flood the bedroom at 3 a.m. Automations tuned to your actual schedule, not a generic template. Zigbee mesh optimised with routing that doesn’t drop the kitchen sensor. Everything talking to everything through Home Assistant on a quiet Raspberry Pi in the cupboard. Then you move house, and it mostly breaks.
Moving with a smart home is one of those experiences that reveals how fragile the underlying assumptions are. Addresses in location-based automations. Device names tied to room layouts that no longer exist. Zigbee mesh topology that was tuned for one building’s geometry and doesn’t work in another. Wi-Fi SSIDs that don’t match. Voice assistant shortcuts that reference “the living room” when the living room has a completely different location and lighting layout. The setup that worked elegantly in the old place becomes a pile of partially functioning devices and broken automations in the new one.
Here’s what actually breaks, why it breaks, and how to build a smart home from the start—or rebuild one mid-move—so that it survives relocation with minimal pain.
What Actually Breaks When You Move
The failures fall into predictable categories, and understanding them makes the rebuild faster.
Location and address-based triggers. If you have automations that trigger based on your home address—”arrive home,” “leave home,” phone geofencing—these need to be updated to the new address. Most platforms (Home Assistant, Google Home, Apple HomeKit) update the “Home” address in settings, which propagates through to geofencing automations automatically. The failure mode is when you have multiple overlapping geofencing triggers in different apps, or when the old address is hardcoded into a custom automation rule rather than referenced from the system home location.
Wi-Fi-dependent devices with hardcoded network names. Smart plugs, Wi-Fi cameras, and any device that connects directly to Wi-Fi by storing the SSID and password need to be re-paired if you’re using a different router name and password at the new place. The practical solution: when moving, set your new router to use the same SSID and password as your old one wherever possible. This eliminates the need to re-pair every single Wi-Fi device, which for a large setup can take days. If you’re changing ISPs and can’t control the router settings, budget time for a full re-pairing cycle—most smart devices connect to new Wi-Fi through their companion apps but don’t retain any other settings during re-pairing.
Zigbee and Z-Wave mesh topology. Zigbee and Z-Wave are mesh protocols where devices use each other as routing nodes. The mesh routing tables are built up over time based on signal quality and path reliability. When you move, the physical layout changes—walls in different positions, different building materials, different interference sources. The mesh will rebuild itself over 24-48 hours as devices discover new optimal paths, but during that period you may see intermittent failures and unexpected dropouts. This is normal and usually self-resolving, but it’s alarming if you’re not expecting it.
Hardwired and in-wall devices you’ve installed. Smart switches, smart thermostats, and any device that’s been wired into the building itself don’t come with you when you move—unless you swap them back to standard devices before you leave. This is the single biggest smart home moving cost that people underestimate. A house full of smart switches, a Nest or Ecobee thermostat, and hardwired smart outlets represents hundreds to thousands of dollars of hardware that you either leave behind or swap out before leaving, returning the property to standard switches and outlets.
The Portability Hierarchy of Smart Home Technologies
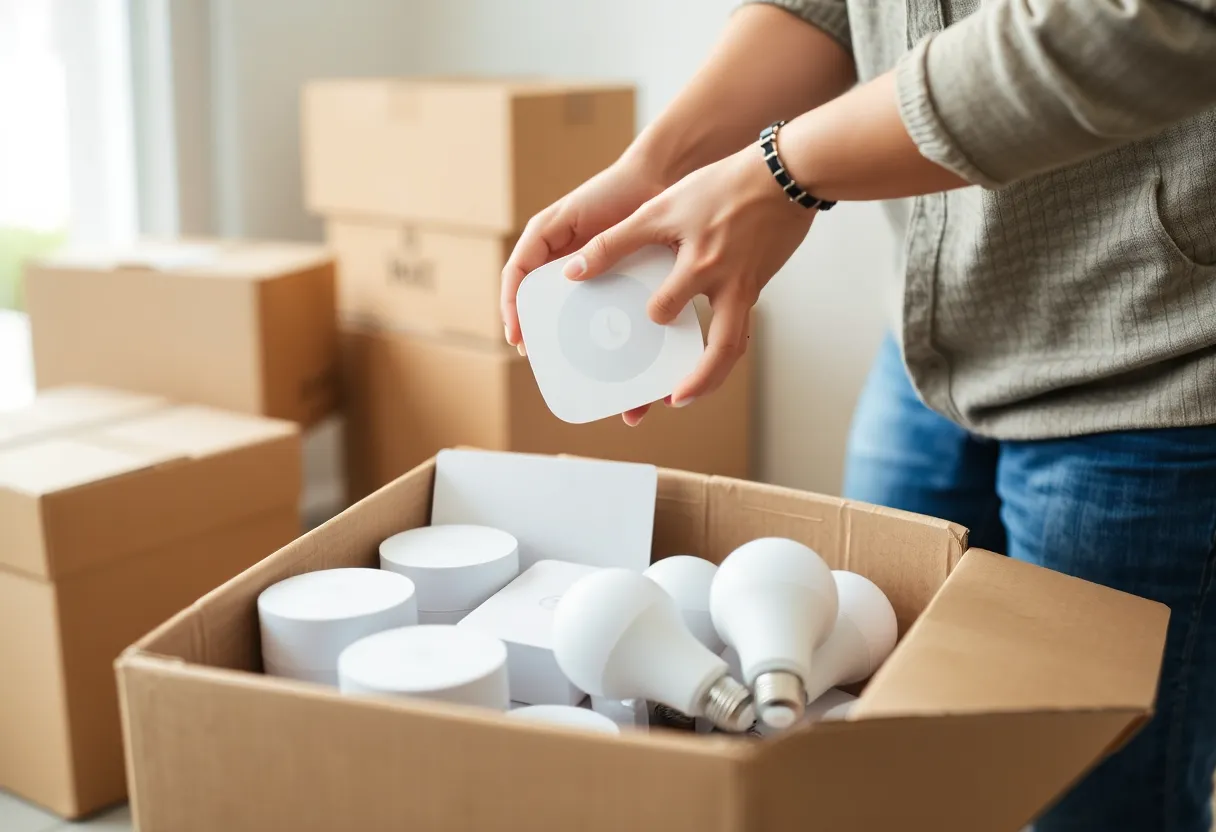
Not all smart home technology moves equally well. Understanding the portability hierarchy helps you make better purchase decisions before you’re staring at boxes on move-in day.
Highest portability: plug-in devices. Smart plugs, plug-in switches, bulbs in standard lamp sockets, plug-in motion sensors, plug-in contact sensors, portable smart speakers. These unplug and go. No installation required at the new place beyond placing and pairing.
High portability: battery-powered Zigbee/Z-Wave devices. Battery-powered sensors (door/window contacts, motion detectors, leak sensors, button controllers) are fully portable. They pair to your hub at the new place identically to how they paired at the old one. Keep the hub (Zigbee coordinator) and these devices together and the mesh rebuilds itself wherever you are.
Medium portability: hardwired switches with standard wiring. Smart switches can technically be removed and replaced with standard switches when you leave. This requires swapping them back, which takes time and requires basic electrical work. If you own your property, this might be worth it. If you’re renting, you may not be allowed to install them in the first place. Smart switches are a commitment to a specific location in a way that plug-in devices aren’t.
Low portability: in-wall smart outlets. Smart outlets that replace standard wall receptacles require installation and de-installation. Renting typically prohibits this; owning means budgeting time to restore before moving.
Effectively zero portability: hardwired doorbells, central thermostats, and structured cabling. A Nest Doorbell wired to your existing doorbell wiring, a thermostat wired to your HVAC system, or any device integrated into the building’s electrical infrastructure stays with the building. The software profiles and automation rules are yours; the hardware isn’t.
Building for Portability from the Start
If you’re starting a new smart home setup—or rebooting after a move—the following principles reduce future moving pain significantly.
Prefer plug-in over wired wherever function allows. A smart plug behind a floor lamp gives you most of the utility of a smart switch for that light without any installation. A plug-in motion sensor covers a room without being screwed to a wall. For renters, this is essential. For owners, it’s a cost/convenience trade-off that favours plug-in if moving is likely in the next three to five years.
Keep all credentials and configuration in a single document. The hub IP address, the admin password, any API keys for integrations, the Zigbee coordinator’s channel settings, and the Wi-Fi credentials for each device category. This document, updated and backed up before every move, makes the rebuild in a new location dramatically faster. The time you spend maintaining it is returned with interest on move day.
Back up your Home Assistant configuration before disconnecting anything. Home Assistant’s snapshot system backs up the full configuration including entity names, automations, scene definitions, and integration credentials. This snapshot can be restored to a fresh installation on the same or different hardware and recovers the full logical configuration. The entities will need to be re-paired (Zigbee devices need to rejoin the coordinator’s network), but the automation logic and room/area assignments don’t need to be rebuilt from scratch.
Use meaningful entity names, not room-specific names. An entity named “bedroom_main_light” breaks when that entity moves to a different room that you now call the home office. An entity named “hue_bulb_e27_ceiling_warm” or “tradfri_bulb_1” can be reassigned to any room in the new house without renaming. Area assignments in Home Assistant are separate from entity names—reassigning a device to a different area is one click. Renaming an entity that’s referenced in dozens of automations is an afternoon.
The Move-Day Sequence That Minimises Pain
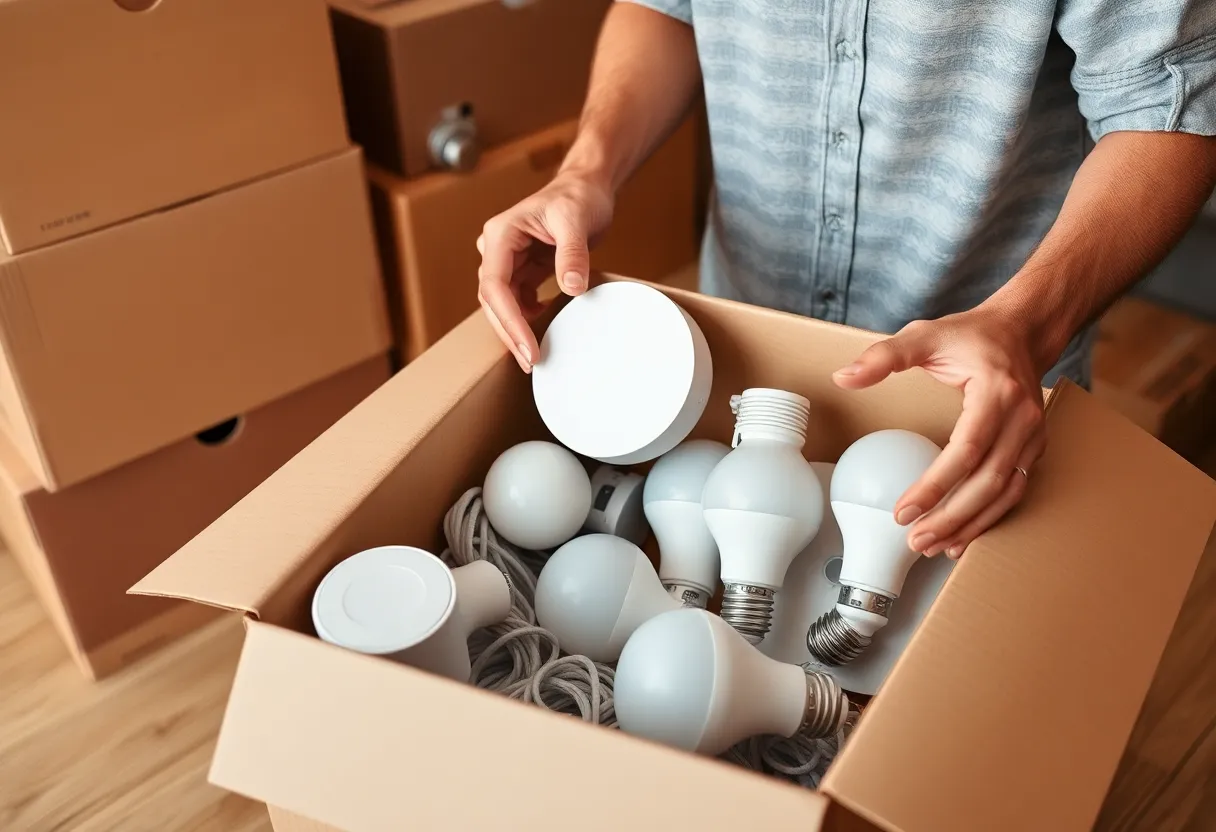
Based on the pattern of what breaks and in what order, here’s the sequence that produces the least friction:
Before moving: take a full Home Assistant snapshot. Document the Wi-Fi SSID and password. Photograph the routing of any Zigbee coordinator placement and the devices that surround it. Note which devices are battery-powered (portable) versus hardwired (staying or needing reinstallation). Swap any hardwired devices back to standard hardware if you’re required to.
At the new place, first: set up the router with the same SSID and password as the old one. Connect the hub first, restore the HA snapshot, and let the system come up. Wi-Fi devices that can see the familiar SSID will reconnect automatically. Zigbee devices will need to be power-cycled in the new location to rejoin the network—start with devices close to the coordinator and work outward to build the mesh from the center.
Once the core is working: update the home address in the system settings, go through automations that reference specific rooms or locations that have changed, and update area assignments for any device that’s in a different functional space than it was before. This audit is faster when entity names are logical rather than room-descriptive.
Give the Zigbee mesh 24-48 hours to stabilise before deciding anything needs replacing. Intermittent dropouts in the first day are normal as routing tables rebuild. Run a mesh visualisation tool after 48 hours to see the actual network topology and identify any devices that genuinely need repositioning or a repeater added.
If You’re Renting: The No-Install Smart Home
The fully portable smart home is achievable for renters and deserves its own treatment. The fundamental rule: nothing that requires drilling, screwing, or wiring. Everything is plug-in or battery-powered.
Lighting: Hue, Tradfri, or similar Zigbee bulbs in all lamp sockets. For overhead lights, a Hue or Tradfri smart bulb in the existing fixture works if the wall switch isn’t used (or you tape over it with a switch lock cover that lets the bulb stay powered while being manually controlled through the app or a wireless button). No wall switch replacement needed.
Motion and sensors: battery-powered Zigbee motion sensors on shelves or stuck with 3M Command strips. Door/window sensors on the frame with Command strips. All fully removable without damage.
Hub: a Home Assistant installation on a Raspberry Pi 4 or Yellow with a USB Zigbee coordinator. Plugged in, no wiring. The hub stays in a central location for mesh coverage.
Climate: a plug-in smart thermostat isn’t quite possible (thermostats require wiring), but a smart plug on a window AC unit, and a combination of temperature/humidity sensors throughout the space, gives you monitoring and some basic control without touching the landlord’s thermostat.
This setup is genuinely capable. The only things you can’t do without installation are smart switches on wall-controlled circuits and anything connected to the home’s electrical infrastructure. For most people in most rental situations, the plug-in approach delivers 80-90% of the smart home functionality at zero landlord-conflict risk and with full portability on move day.