Setting Up a Home NAS With a Used Synology: What to Expect Before You Buy

Jesse Cole
July 7, 2026
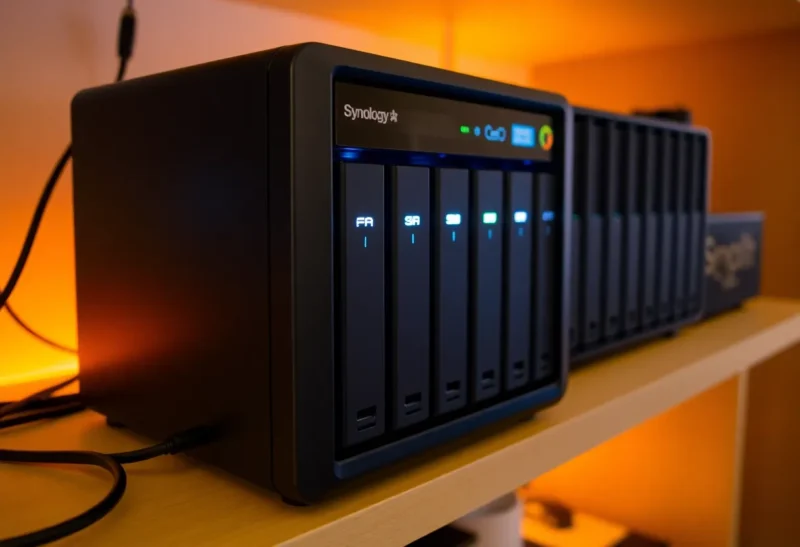
Used Synology NAS devices are everywhere right now. Businesses upgrade their storage, small offices downsize, and homelab enthusiasts move on to newer hardware — all of which puts perfectly functional DS218, DS720+, and DS923+ units on eBay and Facebook Marketplace at a fraction of original retail price. For someone who wants self-hosted storage, backups, and media serving without spending $400–600 on new hardware, a used Synology looks like an obvious win.
It often is — but there are specific things you should know before you bid. The model matters more than the price. DSM compatibility has traps. Drive health deserves more scrutiny than it usually gets. And some used units come from environments where they’ve run hot, underventilated, or with drives that have accumulated questionable hours. None of this makes used Synology a bad buy. It just means you want to go in with both eyes open. If you are still choosing the box, a Pi NAS can beat a Synology on power and control; if you already know you want the two-bay, the year-two bill is B2 versus that used Synology.
Which Models to Target (and Which to Avoid)
Synology’s model numbering tells you something useful: the DS218 is a 2-bay device from 2018, the DS720+ is a 2-bay “plus” series from 2020, and so on. The number of bays determines how much storage you can add and how much RAID redundancy you can configure. The series (J, Play, +, and discontinued “xs”) tells you roughly what the hardware is capable of.
The “J” series (DS218j, DS420j) is entry-level — slow ARM processors, limited RAM, and not upgradeable. DSM installs fine, and for basic file sharing or backups they work, but running Plex transcoding, Docker containers, or Surveillance Station on a J-series unit will be frustrating. If you’re buying used and want to run more than pure file storage, avoid J-series unless the price is exceptionally low.
The “+” series (DS220+, DS720+, DS920+, DS923+) uses Intel Celeron or, more recently, AMD Ryzen processors. These can transcode video in hardware, run Docker, handle multiple simultaneous users, and are generally expandable in RAM. The DS720+ and DS920+ take DDR4 SO-DIMMs and officially support up to 6GB and 8GB respectively — though with unofficial modules some users have pushed higher. These are the ones worth targeting for a capable home NAS.
One important caveat on DSM version support: Synology dropped official DSM updates for some older models on shorter timescales than users expected. The DS218 and DS218+ officially receive security updates through DSM 7.x, but the end-of-life dates vary by model and Synology updates their support lifecycle page periodically. Before buying, check whether your target model still receives active DSM updates — running an EOL NAS on your network with open services is a real security concern.
Drive Health: The Variable Nobody Advertises
When you buy a used Synology, you often don’t know what drives were in it, how long they ran, or what temperature they spent most of their life at. Sometimes the unit comes with drives; sometimes it’s sold bare. Either way, drive health is the critical variable for a NAS that will hold irreplaceable data.
Before you put any data on a NAS, run a full SMART test on every drive. DSM includes a Storage Manager with SMART testing built in — start with a short test, then run an extended test that takes several hours. Look for reallocated sectors, pending sectors, uncorrectable sector counts, and command timeouts. Any nonzero values in those attributes on a drive you’re about to trust with your data should give you serious pause.
Power-on hours tell you how much a drive has actually run. A 4TB drive with 40,000 power-on hours has been running essentially continuously for more than four years. Enterprise drives are rated for those lifetimes; consumer drives are not. For drives with high hours, consider running Synology’s volume scrubbing and watching the error counters over the first few weeks. Some drives with high hour counts are fine; others fail quickly once new stress is applied.
The temperature history matters too. If the previous owner ran the NAS in an underventilated closet, the drives may have accumulated more heat stress than their hours alone suggest. You can’t know this from a listing, which is why buying used is always accepting some uncertainty.
My general recommendation: treat the drives that come with a used NAS as a bonus and plan your budget as if you’ll buy new drives anyway. If the included drives pass SMART and look healthy, use them. If they don’t, you haven’t overpaid — you’ve just paid for the enclosure.
DSM Setup: What to Do First
When a used Synology arrives, the first thing to do is wipe it and reinstall DSM fresh rather than inheriting the previous owner’s configuration. You can download DSM firmware directly from Synology’s support site. Boot the NAS, navigate to the web interface, and use the reinstall or factory reset option. This clears all data and packages, removes any unknown user accounts, and ensures you’re starting from a known state.
After fresh installation, the first configuration decisions are the most important ones. Choose your storage pool and RAID level deliberately rather than accepting defaults. For a 2-bay NAS with two drives of the same size, SHR (Synology Hybrid RAID) and RAID 1 are functionally equivalent — both mirror your data across both drives. RAID 1 is marginally simpler; SHR is more flexible if you ever want to mix drive sizes. For a 4-bay or larger NAS, SHR-2 or RAID 6 provides two-drive fault tolerance, which is worth the storage overhead for anything you’d genuinely miss.
The admin account: rename it or disable it and create a new administrator account with a different username. Default “admin” accounts are the first thing automated login attacks try. Enable two-factor authentication on all admin accounts. If you’re enabling QuickConnect or exposing any services externally, enable the DoS protection and auto-block features in Security Advisor.
Snapshot Replication is Synology’s built-in filesystem snapshot tool. Enable it on any shared folder containing data you care about. Snapshots aren’t a backup — they’re on the same hardware and vulnerable to the same physical failure — but they’re an excellent first line of defense against accidental deletion or ransomware, and they’re free to use.
Packages Worth Installing (and Some to Skip)
The Synology Package Center has everything from basic utilities to fully featured applications. For a home NAS, a few packages are genuinely useful.
Hyper Backup is essential if you want off-site backup. It encrypts and deduplicates backups to cloud destinations (Backblaze B2, AWS S3, Synology C2, or another NAS via rsync). Set this up before you move your important data onto the NAS. The backup isn’t real until it’s tested — run a restore of a sample folder to confirm the backup destination is accessible and the restore process works.
Active Backup for Business lets you back up Windows and Linux PCs to the NAS — useful if you want the NAS to serve as your household’s central backup destination. The license is included with DSM and the Veeam-compatible backup agents are free to download.
Plex Media Server runs well on Plus-series hardware, especially for direct-play streams. Hardware transcoding works on Intel Celeron models with a free Plex Pass. If you’re primarily serving video to devices that support the file formats you’re storing (e.g. your Apple TV plays your MKV files natively), transcoding is rarely needed and even a modestly powered NAS handles it fine.
Docker (available as Container Manager in newer DSM versions) is where Plus-series hardware earns its premium over J-series. Running Vaultwarden (self-hosted Bitwarden), Home Assistant, Nextcloud, or other containerized applications turns the NAS into a broader home server. The performance headroom matters here — a J-series unit will struggle with multiple containers running simultaneously.
Skip Surveillance Station unless you’re actually running security cameras — it’s not useful as a general package and the licensing costs for more than two cameras are a recurring expense. Similarly, Synology’s Moments and Photos packages are fine for photos, but if you’re already running a cloud photo backup, adding another sync layer creates confusion rather than solving it.
The Used Synology Verdict
A used Plus-series Synology in good condition, with fresh drives or drives that pass thorough SMART testing, is one of the better homelab value propositions available right now. The DSM software is genuinely good — polished, regularly updated, and capable of running a real backup infrastructure. The hardware is reliable. The community support is extensive.
The main risks are drive condition (testable before you commit to using a drive for anything critical), DSM version support (checkable before you buy), and buying a J-series unit hoping it will perform like a Plus-series one (avoidable by checking the model number).
The more important point: a NAS is only as valuable as the backup strategy around it. A NAS that’s your only copy of something isn’t a backup — it’s just a RAID array, which protects against a single drive failure but nothing else. Before you call your home NAS setup complete, you need an off-site backup or cloud copy of anything you can’t afford to lose. Hyper Backup makes that achievable. The used hardware makes the whole thing affordable. The result is a self-hosted storage setup that can outlast multiple years of cloud subscription costs for what you paid once on a marketplace listing.