Building a Home Weather Station That’s Worth More Than a Consumer Gauge

Jamie Torres
July 7, 2026
The consumer weather station market is full of devices that give you numbers. A cheap thermometer from a big-box store gives you numbers too. What makes a weather station actually useful — as opposed to a gadget that tells you things you could check on your phone — is whether it’s measuring your specific microclimate, logging data over time, integrating with your home automation, and giving you information that regional weather services can’t because they’re measuring a different location.
Your backyard is not the airport five miles away. The temperature in your garden, the rainfall at your specific address, the wind in your particular valley or roof exposure — none of these are what the nearest official weather station reports. A well-set-up personal weather station gives you that local data, and there’s a large gap in quality between the $60 consumer units and a properly calibrated, well-sited setup that actually earns a place in how you make decisions about your home and garden.
What Actually Matters in a Weather Station
Before buying hardware, it’s worth being specific about which measurements you actually care about and which ones consumer units consistently get wrong.
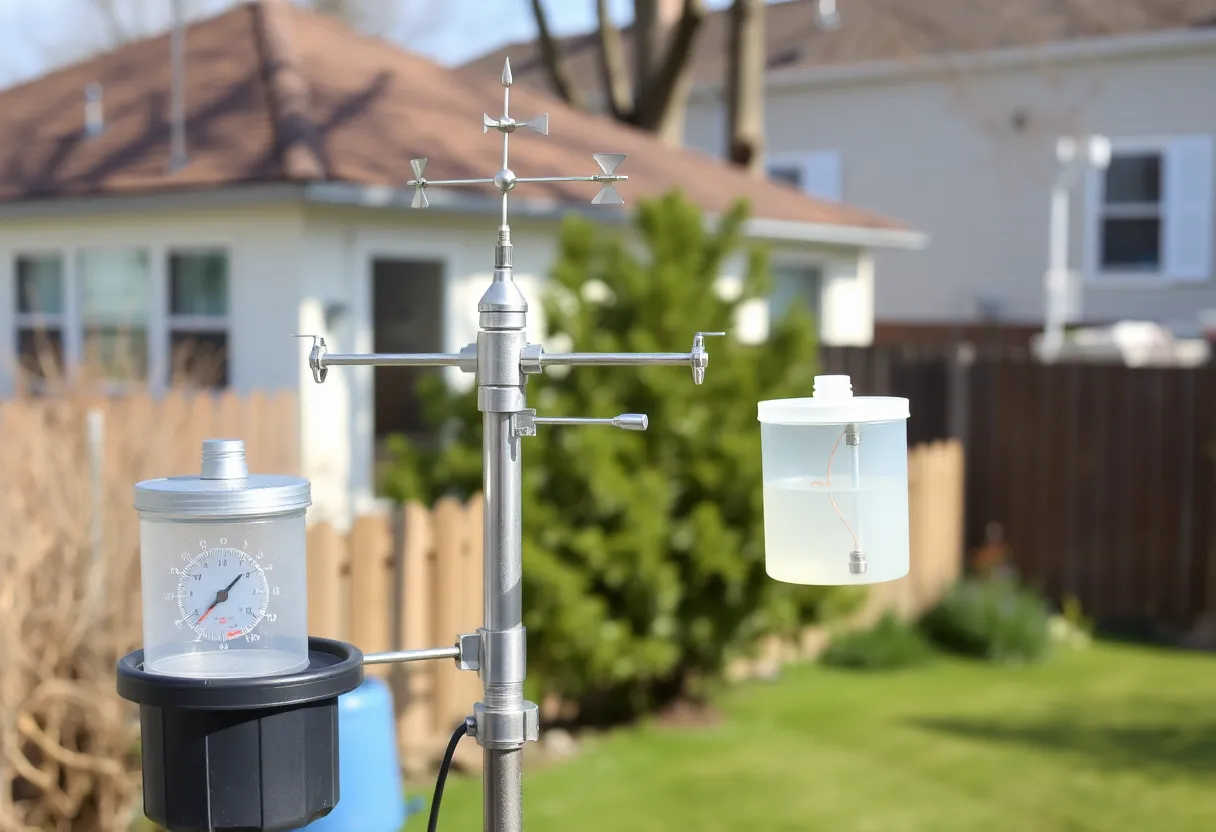
Temperature and humidity are the most commonly measured and most commonly miscalibrated. Consumer indoor/outdoor temperature sensors are usually reasonable, but placement matters enormously. A temperature sensor in direct sunlight or near a building that absorbs and re-radiates heat reads substantially higher than actual air temperature. Proper temperature measurement requires a radiation shield — a ventilated housing that keeps direct and reflected sunlight off the sensor while allowing airflow. The cheap plastic shields on $60 units are often inadequate; well-designed units like the Davis Instruments Stevenson screen or third-party shields significantly improve accuracy.
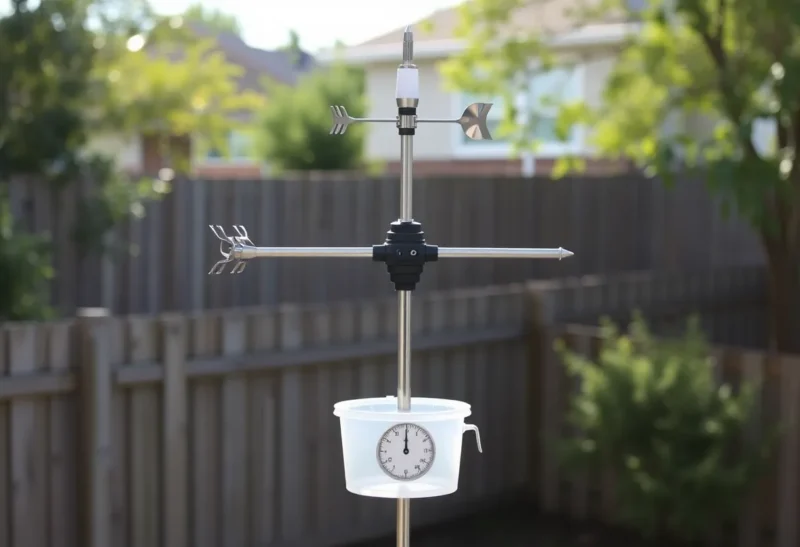
Rainfall measurement is where consumer units most dramatically underperform. Cheap tipping-bucket rain gauges have several failure modes: debris blockage, evaporation before tipping in light rain, miscalibration of the tipping threshold, and placement near structures that cause wind-driven rain to bypass the funnel. A properly placed, maintained, and calibrated tipping-bucket gauge is the right tool; a cheap one in the wrong location is worse than not measuring at all because it creates false confidence. More on placement below.
Wind speed and direction from cheap cup anemometers have known accuracy limits and are affected by nearby structures creating turbulence. If you want wind data that’s useful for anything beyond rough approximation, the sensor needs to be elevated well above surrounding obstacles — 10 meters is the standard for official measurements, which is impractical for most home installations, but the higher the better and clear of rooflines and trees.
The Hardware Tiers Worth Considering
At the $150–250 tier, the Ecowitt and Ambient Weather brands offer reasonable starting points. The Ecowitt GW2000 gateway with their HP2551 or HP2560 display console supports a modular sensor approach — you start with a base suite and add specific sensors as needed. The Ambient Weather WS-2902 is a popular integrated unit with good app integration. Both upload to Weather Underground and other personal weather station networks automatically, which means your data gets shared and used by weather aggregation services while also being accessible via their apps.
The accuracy limitations at this price tier are real but acceptable for most home use cases. Temperature data within ±1°C after calibration, rainfall within ±5% with proper placement, wind speed within ±10–15% in clean air. These are good enough for garden irrigation decisions, understanding your property’s microclimate, and contributing to community weather networks.
At the $400–800 tier, Davis Instruments’ Vantage Vue and Vantage Pro 2 are the standard recommendations for serious personal meteorology. Davis’s sensors are manufactured to tighter specifications and their Integrated Sensor Suite (ISS) puts everything in one outdoor unit with better calibration and build quality than the consumer tier. The anemometer is more accurate. The radiation shield is better designed. The rain gauge uses a better tipping-bucket mechanism. The data logger (WeatherLinkIP or console) provides more robust local storage and API access. These are the units that get referenced when people say their home station data is comparable to official monitoring networks.
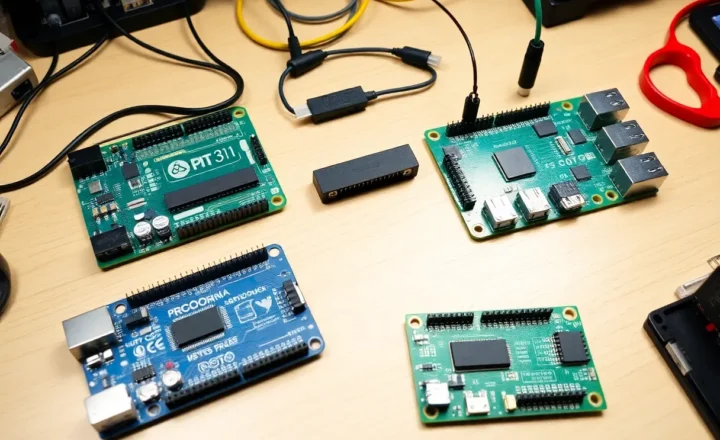
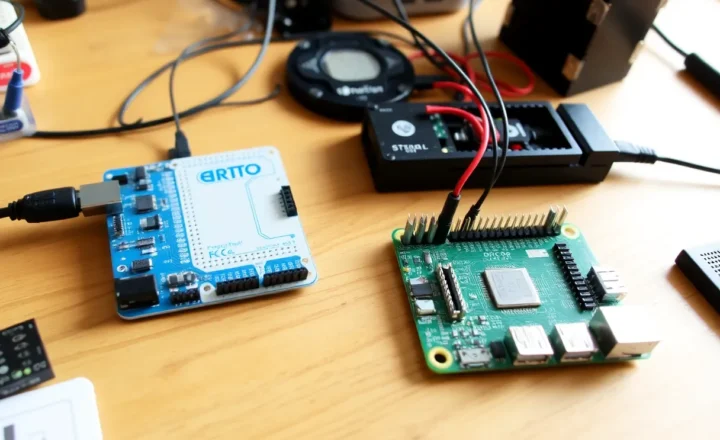
For the tinkerer route, building around a Raspberry Pi or ESP32 microcontroller with individual calibrated sensors (BME280 for temperature/humidity/pressure, a separate calibrated tipping-bucket gauge, an ultrasonic anemometer if you want better wind data) is more work but gives you complete control over data collection, calibration, and storage. The Raspberry Pi weatherstation community is active, and software like WeeWX provides a complete weather station data management system that uploads to multiple networks and produces graphical summaries. The total cost can be competitive with commercial units while offering better customization and data access.
Siting: The Most Important Variable That Nobody Talks About Enough
The most expensive weather station in a bad location produces worse data than a mid-range unit sited correctly. Siting is the variable that matters most and gets the least attention in consumer reviews.
Temperature sensors should be at the standard 1.25–2 meters above the ground, over natural grass or vegetation (not concrete or gravel which stores and re-radiates heat), well clear of buildings and paved surfaces, and shaded from direct sunlight in all directions. If those conditions aren’t achievable in your specific yard — most suburban yards have at least one compromise — document what your compromises are and factor them into how you interpret your data.
Rain gauges need to be in the open — the World Meteorological Organization standard is that no obstruction should be closer than twice its height. A rain gauge placed next to a 10-meter tree should be at least 20 meters from that tree. In a suburban yard, getting 10–20 meters of clearance from trees and buildings on all sides is often impossible; getting 5 meters of clearance from the closest obstruction is usually achievable and significantly better than mounting on a roofline or placing near walls. Rain gauges also need to be level — a tilted gauge over-counts in one direction.
Wind sensors face the harshest siting constraints because nearby structures create turbulence that makes readings unreliable. For wind data that matters, you need elevation above surrounding obstacles. Many homeowners mount their wind sensor on a roof mast or a tall pole; a 5–6 meter pole in a yard with single-story surroundings can give acceptable data for rough purposes even if it doesn’t meet met-office standards.
Getting Your Data Into Useful Places
The whole point of collecting weather data at home is using it. There are several ways to route your data that make it much more useful than just reading a console display.
Weather Underground and Ambient Weather’s own network accept uploads from most consumer stations and make your data publicly visible (the “personal weather stations” layer in weather apps) while also aggregating it for hyperlocal forecasting. If you’ve ever seen a local weather app show you slightly different conditions from a station 0.5 miles away rather than the airport, that’s a personal weather station contribution. Your data feeds those services and improves the hyperlocal data for everyone around you.
WeeWX is the open-source option for full local data management. It runs on a Raspberry Pi or any Linux server, accepts input from most commercial weather stations via USB, serial, or network, stores data in a local SQLite database, generates web pages and charts, and uploads to multiple online networks simultaneously. The configuration is YAML-based and reasonably approachable for anyone who’s done basic server administration. The community is helpful and the documentation is good.
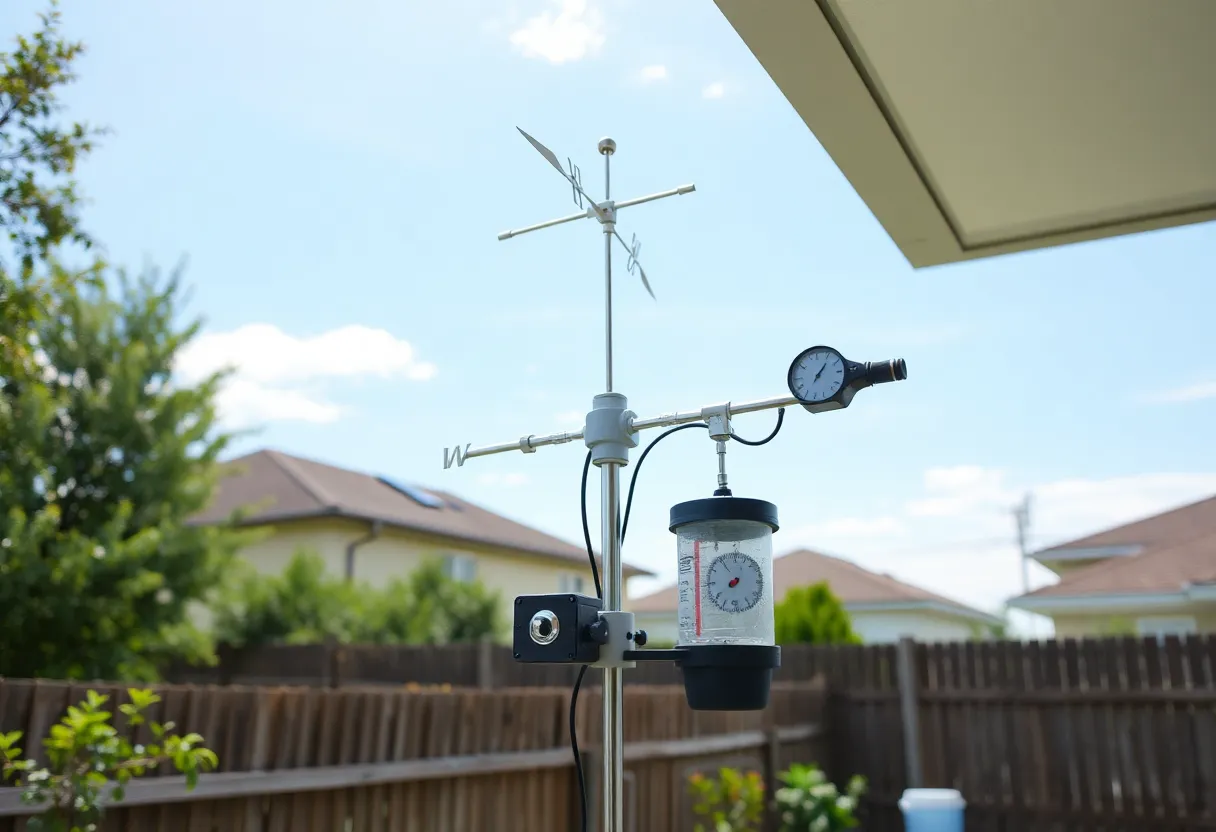
Home Assistant integration is worth setting up if you use it. The weather station sensors appear as entities, allowing you to trigger automations based on actual local conditions: “if it rained more than 10mm in the last 24 hours, skip the garden irrigation schedule.” This is the kind of integration that transforms a weather station from an interesting gadget into something that makes tangible differences in how you run your home.
The Investment That Actually Pays Back
A properly set up home weather station doesn’t pay back in the financial sense, but it pays back in data quality and usefulness in a way that the cheap consumer gauges and phone weather apps simply can’t match. If you care about your garden’s specific water needs, understanding microclimatic frost risk at your property, contributing to the neighborhood weather network that improves local forecasting, or just having a record of what the weather has actually been at your specific location over the last five years — the investment is worth it.
The minimum viable version of this is spending $150–200 on an Ecowitt or Ambient Weather unit, siting it as well as your property allows, and uploading to Weather Underground. The enthusiast version involves calibrated sensors, WeeWX, and Home Assistant integration. Both are better than the $30 indoor/outdoor thermometer from the hardware store, which gives you numbers without giving you useful data. The difference is whether you’ve thought carefully about what you’re measuring and why.