A 0.4 mm nozzle vs 0.6 mm for functional PETG: the strength you trade for a faster part

Anya Petrov
September 23, 2026
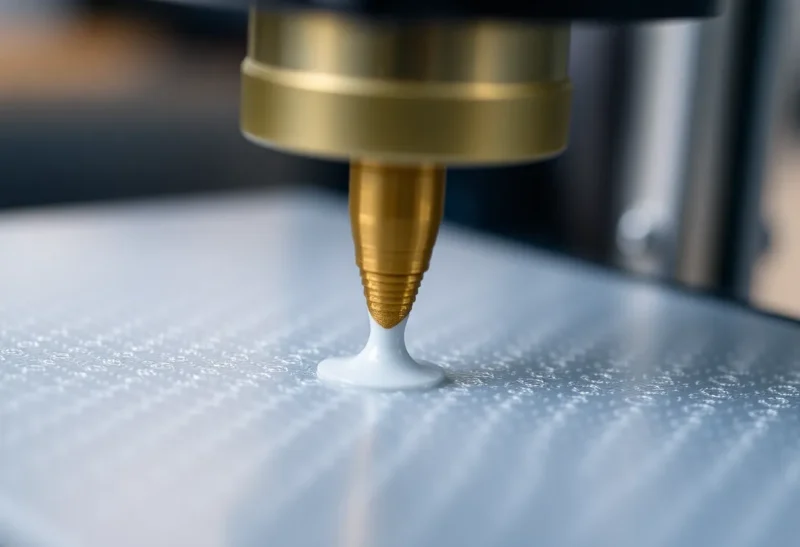
Functional PETG is where nozzle diameter stops being a preference and starts being a strength budget. A 0.4 mm nozzle prints cleaner walls and finer features. A 0.6 mm nozzle lays down more plastic per second and often finishes the part while you are still babysitting the smaller tip. The trade is not “detail versus ugly.” It is how the wall is built, how the layers bond, and whether the bracket survives the first real torque event.
I print a lot of PETG that has to do a job: cable clamps, hinge leaves, enclosure mounts, tool holders that get yanked off a pegboard. Cosplay PETG can forgive a thin wall. Functional PETG cannot. The nozzle choice shows up in week two, when something cracks along a layer line that looked fine on the plate.
What changes when the hole gets bigger
A 0.6 mm nozzle does not magically make stronger plastic. It changes the geometry of each extruded bead. Wider beads mean fewer perimeter passes to reach the same wall thickness, higher volumetric flow for the same print speed, and usually thicker recommended layer heights. That combination shortens print time and can improve interlayer welding when your temperatures and cooling are honest—because each pass dumps more heat into the previous layer.
A 0.4 mm nozzle keeps the classic profile grid: thinner walls if you leave defaults alone, more perimeters for the same outer thickness, better reproduction of small holes and text, and a lower flow ceiling before the hotend complains. For PETG, that lower flow ceiling matters. PETG already wants careful cooling and hates being rushed through a cold tip. Pushing 0.4 hard can look like stringing and weak layers long before the slicer’s “speed” number looks impressive.
So the strength trade is conditional. On chunky structural parts with 1.6–2.4 mm walls, a well-tuned 0.6 often matches or beats a rushed 0.4 because bonding and time-in-chamber (or time-on-bed) work in your favor. On thin living hinges, fine latch geometry, or anything with M3 screw bosses that need clean threads, 0.4 still earns its keep.
PETG’s personality makes the nozzle choice louder
PETG is sticky, moisture-sensitive, and thermally middle-of-the-road. It bonds well when hot and forms stringy whiskers when the retraction story is wrong. A wider nozzle forgives some flow inconsistency because each bead is bulkier; it also hides over-extrusion until dimensional accuracy suffers. A narrower nozzle punishes wet filament and wrong temps with visible scars.
If your PETG has been sitting open, neither nozzle will save you. Drying still comes first. Once the spool is honest, the 0.6 path is usually the one that lets you raise layer height into the 0.28–0.35 mm neighborhood without the part looking like stacked spaghetti—useful when a mount is mostly bulk and screw clearance, not jewelry.
Cooling deserves a hard look. Aggressive part cooling that works for PLA can embrittle PETG layer bonds. With 0.6, I often run less cooling and slightly hotter nozzle settings than the PLA profile I stole last year. With 0.4, the same less-cooling approach still applies, but you may need slower outer walls so the thinner bead actually has time to weld.
Walls, perimeters, and the fake strength of “100% infill”
People chase strength with solid infill and then wonder why a clip snaps at the perimeter. For most functional PETG, strength lives in the walls. Three to four perimeters with a 0.4 nozzle can equal two to three with a 0.6 if you target the same total wall thickness. Do the arithmetic in the slicer instead of copying a YouTube “strong settings” screenshot.
Infill still matters for compression and for supporting top layers, but it is not a substitute for wall budget. A 0.6 nozzle that lays two fat perimeters on a thin design can be weaker than a 0.4 with four carefully bonded walls—even if the 0.6 finished forty minutes earlier. Faster is only a win if the part’s job still exists after installation.
Gyroid or cubic at moderate density is enough for many brackets. Ribs and fillets in the CAD beat heroic infill percentages. Nozzle diameter cannot redesign a stress riser you modeled as a sharp internal corner.
When 0.6 is the rational default for functional PETG
- Parts are thicker than about 3–4 mm in the load path and do not need fine lettering.
- You print the same mount repeatedly and time-per-part is real money or real patience.
- Your hotend can sustain the volumetric flow without underextruding mid-perimeter.
- Holes are clearance holes or will be drilled/tapped after printing, not precision press-fits.
Under those conditions, I keep a 0.6 on the “shop PETG” toolhead and stop debating. The aesthetic hit is usually irrelevant on utility parts. Layer lines are thicker; strength-to-time improves if temperatures are dialed.
When 0.4 still wins
- Living hinges, snap fits, and thin flexible sections.
- Small screw bosses, heat-set insert pockets, and fine lattice that a 0.6 smears.
- Mixed plates where one ornamental face shares a bed with a functional back—compromise toward 0.4 or split the plate.
- You are still learning PETG and want failures to be readable. Thin beads make under/over extrusion obvious.
Also stay on 0.4 if your printer’s stock hotend already struggles to keep up at modest speeds. A 0.6 profile that demands flow the heater cannot deliver produces hollow-sounding walls that look solid and fail early. Bigger nozzle is not a free speed cheat code; it is a higher flow request.
Layer height pairing (the part people skip)
Rule of thumb still holds: keep layer height around 50–75% of nozzle diameter for reliable extrusion. That puts 0.4 near 0.2–0.28 mm layers and 0.6 near 0.28–0.4 mm for functional hunks. Going too fine on a 0.6 wastes the nozzle’s advantage. Going too coarse on a 0.4 invites gaps and weak bonding.
For PETG specifically, I prefer erring slightly thicker once adhesion is proven, because each layer spends more thermal mass against the previous one. That is one reason a calm 0.6 print can feel tougher than a nervous 0.4 print of the same STL.
Abrasion, tips, and the maintenance subplot
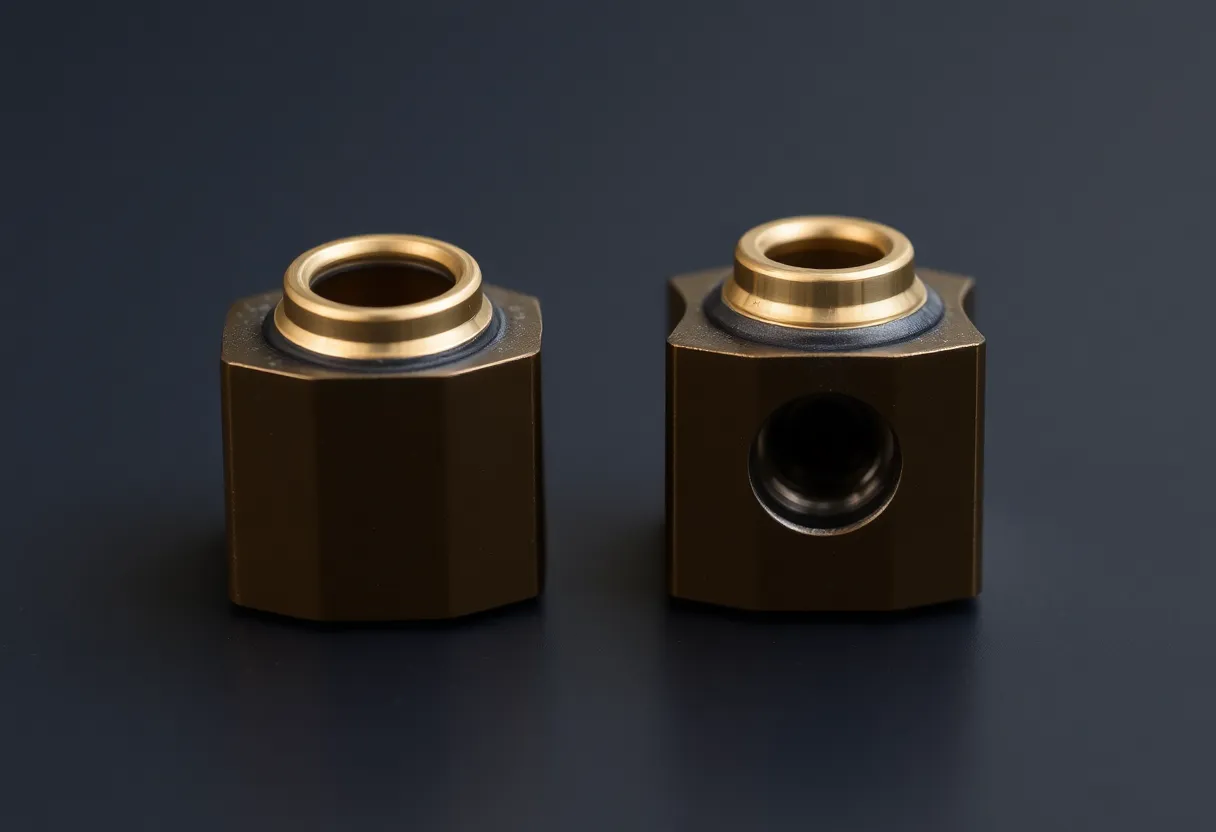
Filled PETG (carbon, glass) will eat brass. If functional parts need filled filament, the nozzle diameter debate becomes a materials debate: hardened tips, slower abrasive profiles, and accepting that 0.6 still wears—just while moving more abrasive volume per minute. Unfilled PETG is gentler; brass 0.4 and 0.6 both last a long time if you are not grinding glitter filament through them daily.
Keep a spare of each size. The afternoon you round-trip a nozzle change to “try 0.6 once” is cheaper than reprinting a cracked mount three times with the wrong mental model.
Dimensional reality: holes, threads, and press fits
Wider nozzles change how holes print. A designed 3.2 mm clearance for an M3 screw can land differently when the slicer’s toolpath is built around a 0.6 bead versus a 0.4 bead—especially on vertical holes where the perimeter has to approximate a circle with fewer, thicker arcs. If you live on press-fits and heat-set inserts, calibrate a hole test coupon for each nozzle instead of trusting the CAD number across both tips.
Horizontal holes and bridging behave differently too. PETG already bridges with a personality. A 0.6 nozzle dumps more plastic into a bridge and can sag unless you slow that feature or add sacrificial structure. A 0.4 nozzle bridges cleaner on small gaps but takes longer on large ones. For functional parts, I would rather drill a critical hole after printing than pretend the first spiralized circle was destiny.
Screw bosses deserve their own paragraph. Thin bosses printed in PETG fail by splitting along layer lines when you drive a screw without a pilot that matches reality. Upsize the boss outer diameter before you blame the nozzle. Then pick 0.4 if the boss is small and ornate; pick 0.6 if the boss is chunky and you will chase the threads with a tap anyway.
Profiles, volumetric flow, and the silent underextrusion
Slicer profiles named after nozzle sizes are starting points, not physics. The limiting factor is often volumetric flow: mm³/s your hotend can melt steadily. A 0.6 nozzle at “fast” wall speeds can demand more melt than a stock heater can deliver, which shows up as matte, underfilled walls that still measure close to nominal thickness because the outer skin lied. Tap the part. Hollow sounds are data.
If you move to 0.6, re-check max volumetric flow with a simple extrusion test, then set the slicer limit slightly under what you measured. Slow the outer wall 10–20% relative to inner walls. PETG rewards that more than PLA does. Temperature: many PETG brands like a hotter nozzle when flow rises, but watch for heat creep and jams in all-metal paths if you overdo it.
Retraction is a separate fight. Larger nozzles sometimes want slightly different retraction distances because the melt zone behaves differently. Do not copy a 0.4 PETG retraction profile blindly onto 0.6 and then declare PETG “stringy forever.” Tune stringing on a small tower after the flow limit is honest.
A decision rule you can use tonight
Ask what fails first if the part is bad. If the answer is “a thin latch or a precise hole,” stay on 0.4 and spend time on walls and temperature. If the answer is “the whole bracket takes forever and then cracks anyway because I rushed cooling,” move to 0.6, thicken walls in CAD or perimeters, slow the outer wall slightly, and dry the spool like an adult.
Print one torture coupon in both configurations when you switch: a flat bar with a screw boss, a thin clip, and a 20 mm cube with two wall strategies aimed at the same millimeter thickness. Bend them. Torque them. The winner is not the prettier surface—it is the one that still works after the abuse you will actually apply.
Strength is not a nozzle diameter. Strength is bonded plastic in the right place. Diameter only changes how you buy that bond—with more passes and finer control, or with fewer hotter beads and less clock time. For functional PETG, I default to 0.6 for bulk and 0.4 for mechanism. Switching without changing wall strategy is how you get a faster weak part.