Pause-at-layer to drop in a nut vs modeling the insert in: when the pause ruins the part

Anya Petrov
September 23, 2026
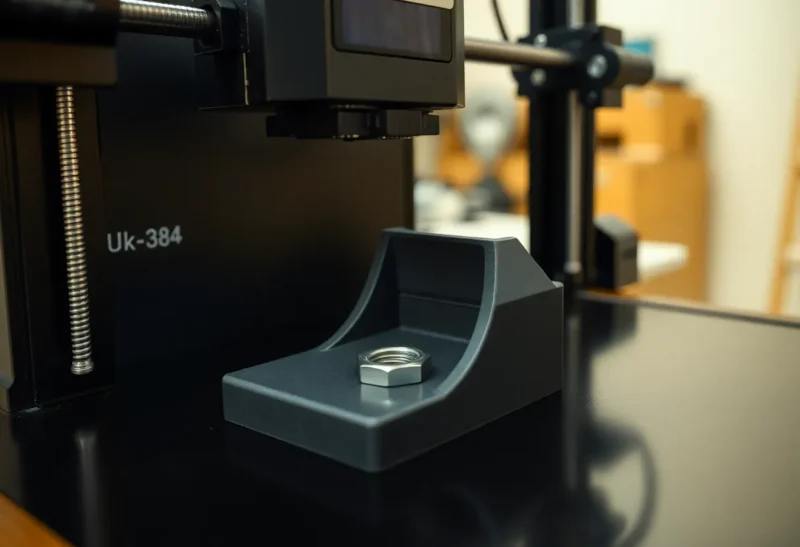
Pause-at-layer is one of those slicer features that feels like a cheat code the first time it works. You hollow a pocket for an M3 hex nut, tell the printer to stop at the right height, drop the nut in, and resume. The plastic closes over the hardware. No heat-set tip, no glue, no post-machining. For a one-off bracket, it is genuinely elegant.
Then you do it on a taller part, or a tighter tolerance, or a material that hates reheating, and the pause is what ruins the print — not the nut.
The other path is to model the threaded insert (or heat-set insert, or captured fastener strategy) into the design from the start and install hardware after the print finishes. That is slower on assembly day and usually more reliable when the part has to survive more than a desk demo.
This is about when the mid-print pause is the right trick, and when it is a failure mode dressed as cleverness.
What pause-and-drop is actually doing
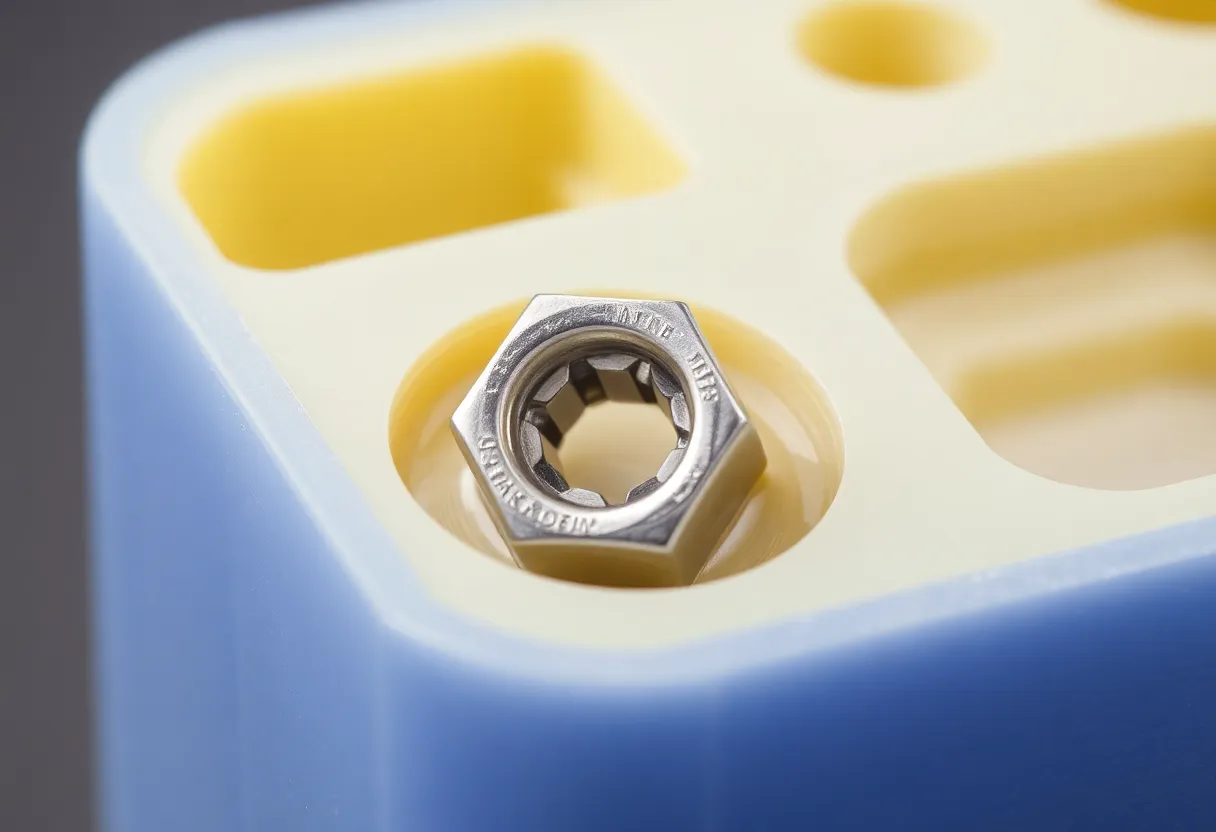
At a programmed layer, the toolhead parks, you place a nut (or magnet, or bearing) into a printed cavity, and extrusion continues so perimeters bury the hardware. The nut becomes captive: it cannot spin freely out of the pocket, and a screw can enter from the opposite face.
The method shines for:
- Low-volume functional parts where you want metal threads without buying insert kits
- Magnets trapped for lids and tool holders
- Geometries where post-install heat-set access is awkward
It fails when the pause itself changes the thermal and mechanical state of the print enough that the next layers do not bond, warp, or seal the cavity cleanly.
How the pause ruins the part
Cold joints. While you fumble for the right nut size, the top surface cools. The next layer lands on a colder, sometimes slightly contracted skin. On PLA this can be a faint witness line. On PETG and ABS-family materials it can be a delamination plane exactly at the height where the screw will later load the part. You built a captive nut and a crack initiator in the same move.
Blob and string at resume. Many firmwares ooze during a pause. The first travel after resume can drip into the nut cavity or onto a wall. A string across the pocket prevents the nut from sitting flat; a blob on the perimeter becomes a dimensional error you will feel when the mating part will not seat.
Shift and knock. Hands in the build volume are a risk. Bumping the bed, the part, or the gantry by a fraction of a millimeter is enough to ruin a precision fit. Enclosures make this worse: you open the door, dump heat, place the nut, close the door, and hope the chamber recovers before the next solid layers.
Wrong height, wrong pocket. If the pause layer is early, the nut sits too high and the nozzle collides. If it is late, the cavity is already partially closed and the nut will not seat. Either error can crash the nozzle into metal — which is how pause-at-layer stories end with a scarred bed and a bent heat break.
Time. A thirty-second pause is usually fine. A five-minute hunt through a hardware drawer is not. The feature assumes you are ready at the beep. If you are not, cancel and redesign rather than resume a cold, contaminated surface.
Modeling the insert in: slower, usually stronger process control
“Modeling the insert in” means designing for hardware installed after printing: heat-set threaded inserts melted into bosses, press-fit inserts, hex pockets accessed from the outside, or screw bosses sized for self-tapping into plastic when loads are light.
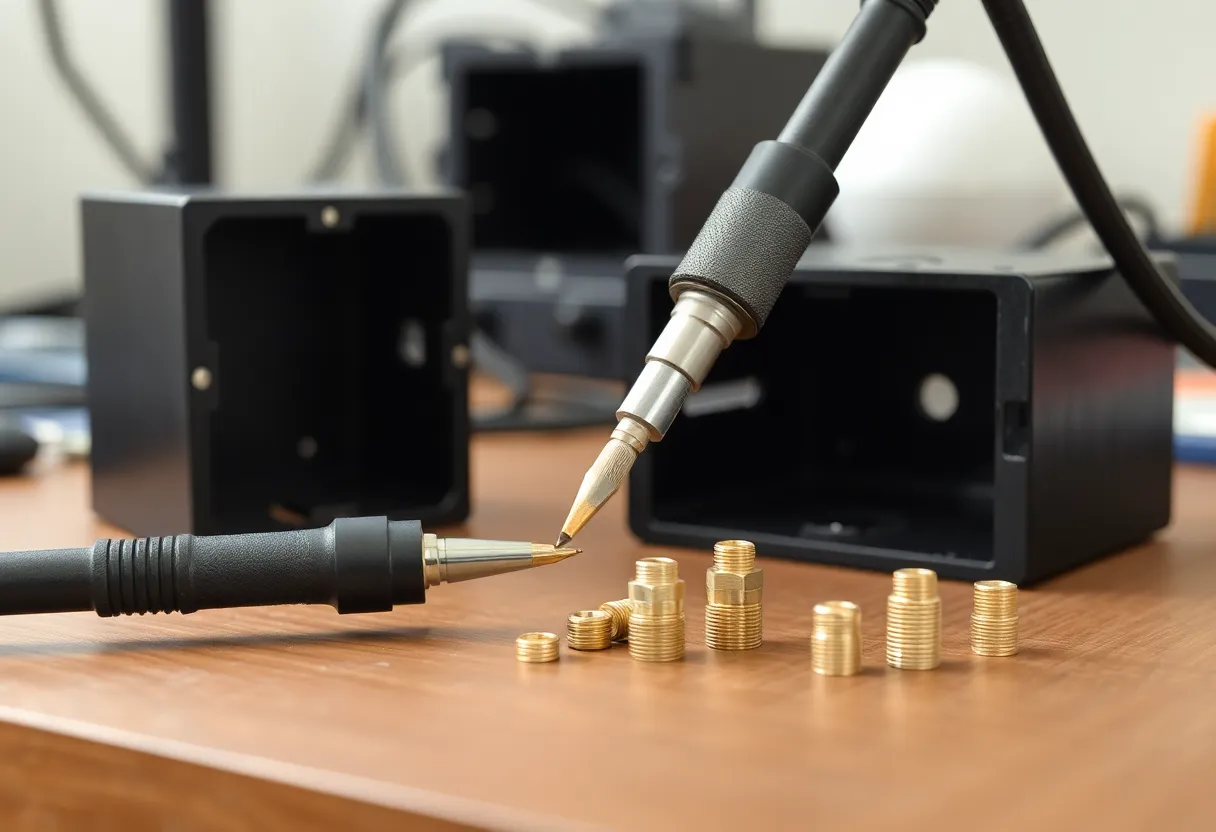
Heat-set inserts are the common upgrade path. You print a boss to the insert’s spec, warm the insert with a tip or dedicated iron, and press it home so plastic reflows around the knurl. Done well, you get metal threads aligned to the boss, repairable if you destroy a screw, and no mid-print intervention.
Trade-offs are real. You need the right inserts and a careful hand so you do not sink them crooked or melt the boss into mush. Thin walls around an insert can crack later under torque. You also accept a post-processing step every unit — fine for five brackets, tedious for fifty.
Captive-nut pockets designed for post-install (slide-in channels, open hex sockets closed by a cover plate) avoid the pause entirely. The nut goes in after the print, sometimes retained by a screw from the far side. These designs take more CAD time and sometimes more fasteners, but they remove the thermal discontinuity of a mid-print stop.
When pause-and-drop is still the right call
Use it when all of these are true:
- The part is short enough that the paused surface is still warm and small.
- You have the exact nut staged beside the printer before the job starts.
- The cavity has clearance chamfers so the nut drops in without coaxing.
- You are printing a material that reunites reasonably after a brief stop (often PLA; be more cautious with ABS/ASA).
- The load on that joint is modest, or the nut is only for alignment and a second fastener takes shear.
Magnets are often kinder than nuts: they tolerate a slightly imperfect pocket, and you can often glue them post-print instead. If you pause for magnets, the same cold-joint rules apply.
When you should model the insert instead
Choose post-print inserts or external captive hardware when:
- The pause height is late in a long job (large cold surface, high stakes)
- The part is structural and the seam would sit in a bending region
- You are printing in a heated chamber you do not want to open
- You need repeatable production — pauses do not scale
- You have already crashed a nozzle into a proud nut once (listen to that scar)
If the only reason you are pausing is “I do not own heat-set inserts,” buy the inserts. They are cheaper than reprinting ruined ASA enclosures.
Technique that keeps pause-and-drop from biting
If you still want the trick, reduce variance:
- Stage hardware in a labeled dish. Include a spare.
- Use slicer pause or a filament-change-style park that retracts cleanly; wipe the nozzle if your machine oozes.
- Add a one-layer “cover” design with slight overlap so plastic bridges over the nut without leaving a hole.
- Chamfer the pocket entrance; sharp corners fight seating.
- Prefer a short pause script over a vague “I’ll hear it and walk over.”
- After resume, watch the first three layers over the nut. If bonding looks glossy-on-matte and weak, stop and rethink the design.
Some people lower bed temp slightly during long pauses to reduce elephant-foot weirdness on resume; others keep heat to preserve interlayer welding. Know your material. Test on a coupon that is only the nut pocket before committing a four-hour shell.
A simple decision rule
If the captive feature is the point of a quick prototype and you can babysit the beep, pause-and-drop is fine. If the part must be trusted, repeated, or printed in a fussy material, model the insert path and install hardware when the print is done and cool.
The pause does not ruin parts because the feature is cursed. It ruins parts because it inserts a human, a temperature swing, and a metal object into a process that was otherwise closed-loop. Design for that human — or design them out.
Bottom line
Pause-at-layer to drop in a nut is a sharp tool for one-offs. It becomes the failure when the stop is long, the surface goes cold, the nut sits high, or the seam lands where the screw will pry the part apart. Modeling heat-set or post-install captive hardware costs a little CAD and a little bench time, and it removes the most common way a clever pause turns into spaghetti and a scarred nozzle.
Stage the nut before you need it — or stop needing the pause.
A quick comparison you can keep
Think of the two approaches as different risk budgets. Pause-and-drop front-loads risk into the print job: one bad resume and the whole part is scrap, including the hours before the pause. Insert-after-print front-loads risk into assembly: a crooked heat-set insert ruins a boss, but the rest of a good print may still be salvageable with a larger insert, a helicoil-style fix, or a redesign of that boss alone.
For classroom demos and hackathon brackets, scrap risk during the print is acceptable. For a drone frame, a product enclosure, or anything you will ship to someone else, keep the print deterministic and put the human after the cool-down beep.
Also be honest about thread durability. A captive hex nut gives you real steel threads, which is why the pause is tempting. A heat-set insert does too. Self-tapping into plastic does not — fine for light lids, poor for repeated service. Do not choose pause-and-drop only to avoid buying inserts if inserts would have given you the same metal thread with less drama.