

Most of us treat “NAS” and “expensive” as synonyms. Synology, QNAP, and TrueNAS builds dominate the conversation—rack units, multiple bays, and budgets that can run into the thousands. But there’s another path: a Raspberry Pi with a couple of USB drives, running 24/7 in a corner of your home. It’s cheap, it’s simple, and if you set it up right, it can stay online for years. Here’s why that’s still a compelling choice in 2026.
Why a Pi NAS at All?
A Raspberry Pi NAS won’t win on raw throughput or drive count. What it wins on is cost, power draw, and simplicity. A Pi 4 or Pi 5, a case, a good power supply, and one or two USB 3 drives add up to a few hundred dollars at most. Power consumption stays in the single-digit watts. No fans screaming, no RAID controllers to configure—just a small computer doing one job well.
For backups, media storage, and light file serving, that’s often enough. You don’t need 10 Gbps or 12 bays to keep your photos safe or stream a movie to the TV. You need something that’s on when you need it and doesn’t burn a hole in your wallet or your conscience. The Pi delivers that without the complexity of a full server or the lock-in of a commercial NAS.
Hardware That Actually Lasts
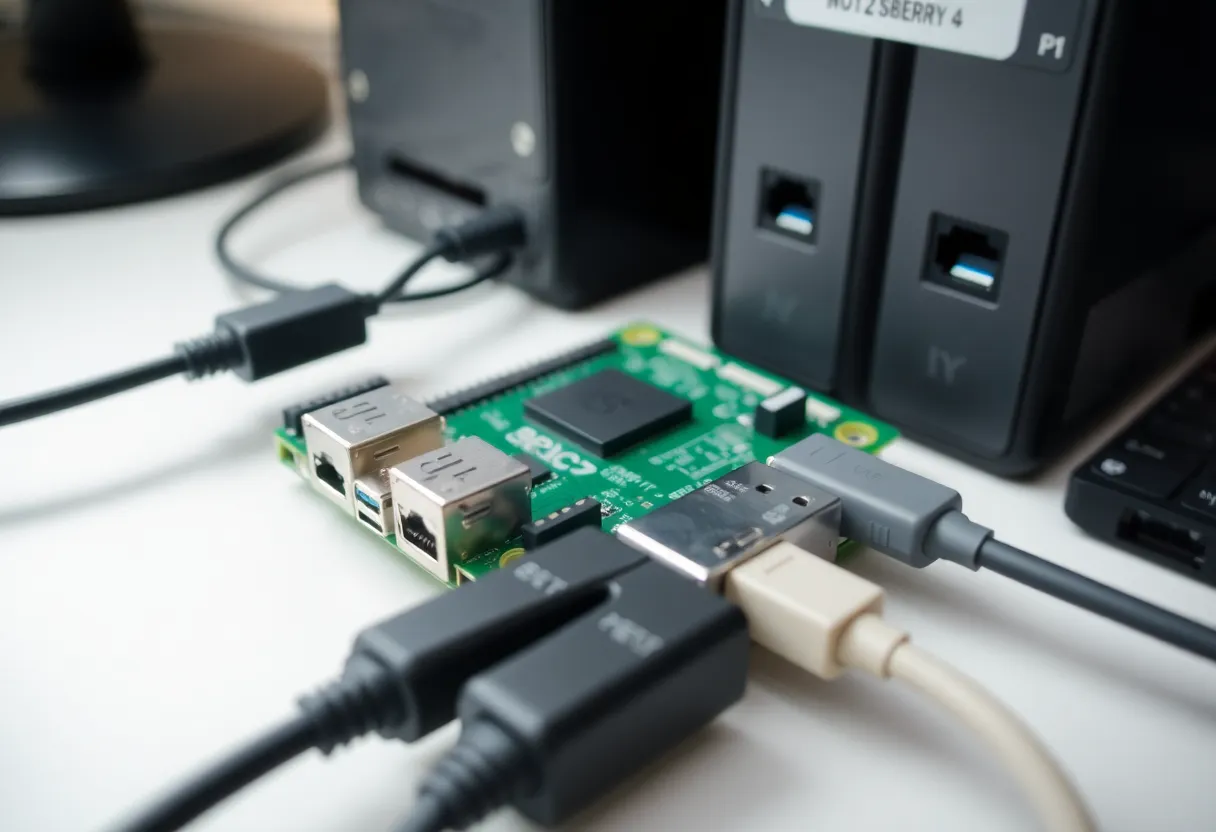
Not every Pi setup is created equal. The classic mistake is running the whole system off a cheap SD card. SD cards wear out under constant writes; when the card dies, your NAS configuration goes with it. The fix is straightforward: boot from USB SSD. Raspberry Pi 4 and 5 support USB boot natively. A small 64GB or 128GB SSD in a USB enclosure is cheap, fast, and far more reliable than any SD card for 24/7 use. Put your OS there, mount your data drives separately, and you’ve removed the single biggest point of failure.
For the data drives themselves, use name-brand external USB 3 HDDs or SSDs. Avoid the absolute bargain-bin drives; a few extra dollars buys better longevity and fewer surprises. If you need redundancy, mirror two drives with software RAID (mdadm) or use a tool like SnapRAID for periodic parity. You don’t need hardware RAID—the Pi’s CPU handles it fine for typical home throughput.
Stability Is a Feature
The real trick isn’t building a Pi NAS—it’s keeping it running. Unplanned reboots, SD card corruption, and flaky USB have given Pi-based storage a bad name. But the problems are solvable. Use a quality SD card (or boot from SSD via USB), put the OS and apps on reliable storage, and treat the Pi like the always-on appliance it is: on a UPS, in a cool spot, and updated on a schedule rather than “whenever.”
Placement matters. Stick the Pi somewhere with decent airflow—not inside a sealed cabinet or under a stack of books. Heat shortens component life and can trigger throttling or instability. A simple passive case is usually enough; if the room gets warm, a small fan helps. Power is another often-overlooked factor. A good 5V 3A (or 5A for Pi 5) power supply prevents brownouts and random reboots. And if your area has flickery power or occasional outages, a small battery backup (UPS) is a wise investment. Graceful shutdown scripts that trigger when the UPS switches to battery will protect your data when the lights go out.
Once you do that, a Pi NAS can sit there for months or years without attention. No GUI to log into every week, no complex RAID rebuilds. Just a small box that serves files and maybe runs a backup job on a cron. That predictability is worth more than a few extra megabytes per second.
Software That Fits
OpenMediaVault, CasaOS, and plain Samba on Raspberry Pi OS are all viable. The goal is to pick one stack and stick with it. OpenMediaVault gives you a web UI and plugins—user management, shares, and optional Docker for extra services. CasaOS is even more opinionated and user-friendly, with a clean dashboard and one-click app installs. If you’re comfortable in the terminal, a minimal install with Samba and NFS is enough for many households. Install the packages, create your shares, set permissions, and you’re done.
Add something like Syncthing or rsync for backups, and you’ve got a setup that’s easy to reason about. Syncthing is great for continuous sync between your laptop and the NAS; rsync over SSH is ideal for scheduled full or incremental backups. When something breaks, you’re debugging a Linux box and a couple of drives—not a proprietary NAS OS with layers of abstraction. Logs are standard Linux logs; configs are text files. That transparency is a real advantage when you want to understand or fix what’s going on.
What You’ll Actually Use It For
In practice, a Pi NAS shines for a few specific jobs. First, automated backups: nightly rsync or Syncthing from your main machine keeps a second copy of your documents and photos without you thinking about it. Second, media storage: dump your movie and music library onto the drives, point Plex or Jellyfin at them (either on the Pi or on another device), and stream to the TV. Third, shared family storage: a single Samba share where everyone can drop files, access from any device on the network, and keep the main PCs uncluttered. None of these require enterprise-grade hardware—they just need something that’s on, reachable, and stable.
When to Step Up
A Pi NAS is not the answer if you need high-speed multi-user access, many simultaneous streams, or serious redundancy. For that, a proper NAS or a small server makes sense. If you’re editing 4K video over the network or running a small business off the same box, you’ll hit the limits of USB and a quad-core ARM chip quickly. But for a single household, personal backups, and light media duty, a Raspberry Pi that stays online is a legitimate, low-friction option. Build it once, set it and forget it—and put the money you save toward something else.
In 2026, the Pi NAS isn’t about beating the big guys. It’s about having a small, reliable, always-on box that does exactly what you need and nothing more. That’s a case worth making.