Thermal Interface Materials on Desktop CPUs: Paste, Pads, and Torque in Plain Language

Marcus Feldmann
April 8, 2026

Every CPU cooler story eventually lands on the same boring object: the thin layer between the processor’s heat spreader and the cold plate of the heatsink. Marketing loves exotic fans and RGB, but thermal interface material (TIM) is where physics meets user error. Too little paste starves contact; too much squeezes out and makes a mess; the wrong kind of pad can quietly throttle performance; and torque specs exist because uneven pressure is a great way to crack substrates or bow motherboards.
This guide is for desktop builders who want clear language, not forum fights. You will not find brand tribalism here—only how paste, pads, and mounting pressure actually work together. Bring a screwdriver, patience, and a willingness to follow the manual—those three beat exotic paste every time.
What TIM is trying to fix
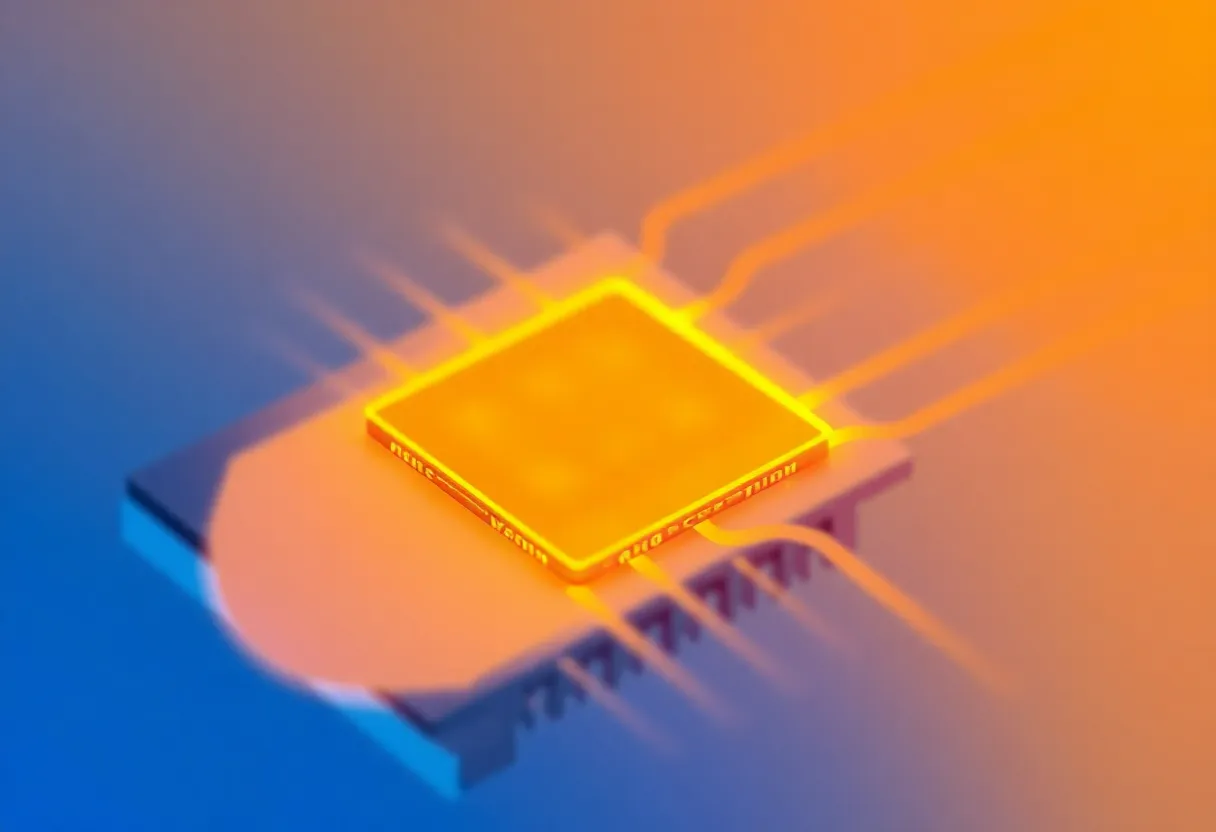
Metal looks smooth to the eye; at the scale of heat transfer, it is a landscape of microscopic gaps. Air is a poor conductor, so those gaps become insulation. Thermal paste fills them with something dramatically better than air—while still being thin enough that heat can move through it efficiently.
Pads play a similar role when a manufacturer wants repeatable assembly, easier shipping, or a specific thickness to bridge a gap. Liquid metal is another category entirely, with higher conductivity and higher risk; this article focuses on mainstream pastes and pads most readers will touch.
Think of TIM as insurance against imperfect mating surfaces. Your cooler’s base plate and the CPU heat spreader are both machined, but neither is optically flat. The interface layer is not a replacement for good cooler design—large surface area, heat pipes, and airflow still do most of the work—but it is the seal that prevents microscopic air pockets from sabotaging contact.
Conductivity vs. “feel” in the real world
Specifications list thermal conductivity in watts per meter-kelvin, but viscosity, pump-out, and long-term stability change how a paste behaves in a chassis that cycles hot and cold daily. A slightly lower conductivity paste that stays where you put it can beat a higher number on paper that migrates away from the hot spot over months. This is why experienced builders care about application consistency as much as brand.
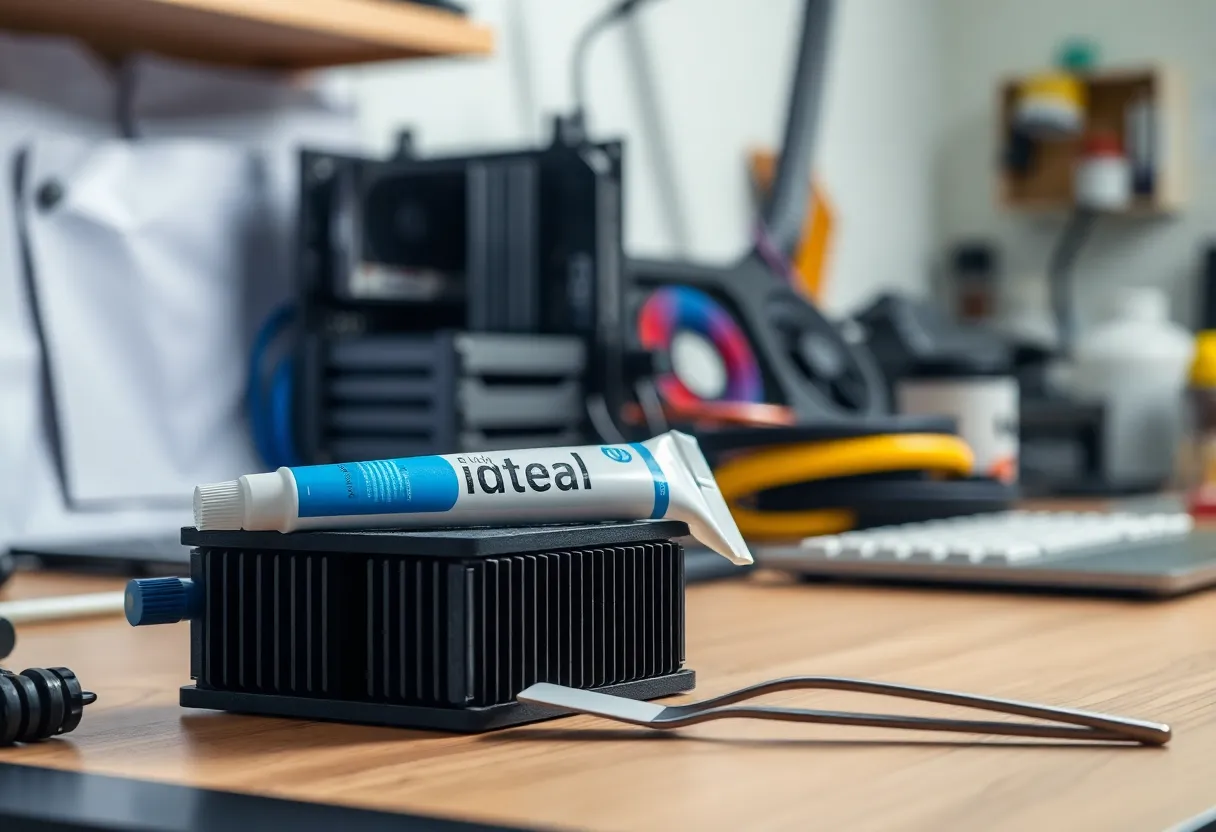
Paste: the “pea vs line” debate in sensible terms
Online videos love dramatic spreading patterns. The underlying goal is simple: achieve complete coverage without excess. A small dot in the center often works because mounting pressure spreads the paste outward. A line can help on elongated heat spreaders. What matters is full contact without a thick sandwich that mainly stores heat.
If you remove a cooler after a test fit and see bare metal islands, you did not get coverage. If paste oozes down the socket edges, you used too much or applied too much pressure too quickly. Neither is a moral failure; it is feedback.
Pads: convenience, thickness, and trade-offs
Pre-cut pads show up on VRAM, SSDs, and some stock coolers because they are consistent and clean. They are not always inferior to paste—context matters. A pad of the right thickness and thermal properties can beat a sloppy paste job in repeatability.
Where pads hurt is when people stack them to “make up” for a gap that should be solved by proper mounting hardware. Stacking increases thermal resistance and can create uneven pressure. If you need more than a manufacturer’s intended pad thickness, something else is misaligned.
Torque: why “hand tight” is not a specification
Modern mounting systems use springs or standoffs designed for a specific clamping force. Cross-tightening in a star pattern helps keep pressure even. If you ignore manufacturer guidance and crank screws until they stop, you can bend packages, damage sockets, or create cold spots where the TIM layer is too thin.
Some coolers ship with torque-limited drivers or marked screw steps. Use them. The goal is predictable pressure, not maximum effort.
Platform quirks worth knowing
Large heat spreaders and stiff motherboard PCBs interact with cooler mounting pressure. Some communities discuss contact frames or washers to reduce flex; whether that matters depends on your exact CPU generation and cooler footprint. If you chase those tweaks, treat them as mechanical engineering adjustments with documented torque outcomes—not Instagram trends.
Always support the motherboard from behind when applying pressure during installation, especially outside a case. Flex during mounting can stress traces and create mysterious instability later.
Performance expectations without hype
Switching from a decent mainstream paste to another decent mainstream paste rarely moves real-world numbers by more than a few degrees—unless your previous application was wrong. Big jumps usually come from fixing a mounting issue, improving case airflow, or replacing a dried-out pad.
Benchmark culture loves charts, but your noise floor includes ambient temperature, fan curves, and paste cure time. If a paste claims a “cure” period, give it before declaring victory.
How to read temperatures honestly
Package sensors report different stories than diode hotspots inside the silicon. Use trends, not single numbers: idle after boot, sustained load, and recovery after load. Compare the same workload week to week in similar ambient conditions. If your desk is ten degrees warmer in August, your CPU will be too—and that is not TIM failure.
Fan curves matter as much as paste. A cooler that waits too long to spin up can spike junction temperatures briefly; a curve that is too aggressive wears bearings and annoys humans. Balance noise, longevity, and thermal headroom instead of chasing the lowest possible peak on a screenshot.
Laptops vs desktops: do not import advice blindly
Many laptops use pads or engineered graphite sheets because vibration, thickness tolerances, and factory automation favor repeatability. Desktop DIY advice about “always repaste” can be wrong for specific laptop models where clips, foam, and shielding are part of the mechanical design. If you open a laptop, follow service manuals; if you repaste, verify clearance and screw lengths so you do not crush a package.
Common mistakes that waste money
Chasing conductivity numbers in isolation. Ease of application, consistency over years, and pump-out behavior matter more for most builds than the last decimal on a spec sheet.
Mixing surfaces. Old paste should be cleaned off before reapplication. Layering new on top of crusty residue is not a life hack.
Ignoring cooler orientation. Some tower coolers stress different motherboard regions depending on how they hang. Clearance is not only aesthetics; it affects airflow.
Skipping cleaning supplies. Isopropyl alcohol and lint-free cloths are not optional accessories. Old TIM residue changes thickness and can contaminate a fresh application.
Liquid metal: a footnote, not a default
Liquid metal can outperform traditional pastes on paper, but it conducts electricity, migrates under some conditions, and demands careful application around capacitors and aluminum surfaces. For most readers building a standard desktop, high-quality paste and correct mounting beat risky shortcuts. If you experiment, read vendor warnings and accept that warranties can get complicated.
Maintenance and reassembly
If you move a PC often or run hot for years, repasting is reasonable maintenance. If temperatures creep up slowly, dust on radiators and filters is a likelier culprit than magic paste degradation—check both.
Seasonal changes matter: winter heating and summer humidity alter case intake temperature more than most paste swaps. Log ambient room temperature when you log CPU temps if you are chasing a regression; otherwise you will chase ghosts.
When removing a cooler, twist slightly to break suction before lifting straight up. Sudden vertical pulls have torn processors out of sockets before; patience is cheaper than a repair.
When to call it “good enough”
Perfectionism has diminishing returns. If your CPU stays below throttling under realistic workloads and noise levels fit your desk, you are done. Chasing the last degree often trades hours of rebuilds for imperceptible gains—time better spent validating RAM stability or cleaning dust filters.
Storing paste and knowing when to replace it
Keep tubes capped, away from heat and dust. If paste separates or becomes crumbly, replace it. A few dollars of fresh material beats a troubleshooting session where you suspect everything except a dried tube you found in a drawer from 2014.
GPUs and memory pads: related but not identical
Graphics cards use pads on VRAM and VRMs with different thickness requirements than a CPU heat spreader. If you open a GPU for maintenance, measure pad thickness before removal or buy a manufacturer-recommended kit. Guessing pad height is a fast path to memory hotspots and coil whine from uneven thermals.
Closing take
Thermal interface material is not alchemy. It is gap filling, controlled pressure, and honest expectations. Respect torque specs, aim for thin even coverage, and treat pads as engineered parts—not stickers you stack until things feel right. Get those basics right, and the rest of your cooling story can actually be about airflow and fan curves, where the bigger wins often live.
When someone online posts a miracle temperature drop, ask what else changed in the same session—fan curve, case panel, room temperature, or workload. TIM rarely works alone; it completes a system that still needs sensible airflow and sane expectations.